Make these shabby chic bunting style save the date calendar invites for your wedding.
These cute save the date calendar invites are perfect for country garden or shabby chic weddings. They are a tiny bit fiddly to make but very low cost!Here is how to make this cute Save the Date Calendar invite:
you will need:
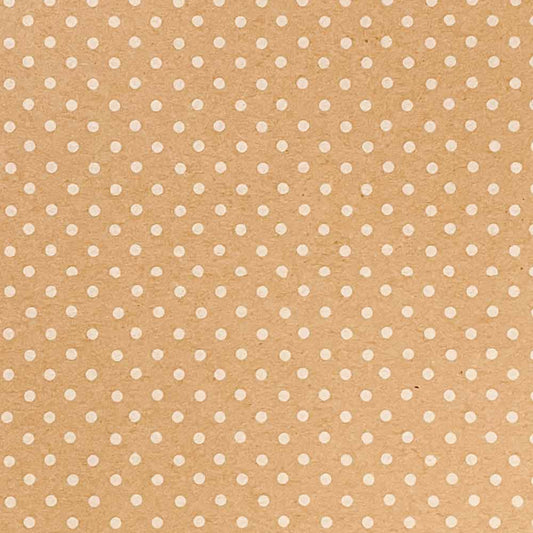
1/4 sheet of Kraft Polka Dot Paper. (click here)
1/4 sheet of Kraft Card. (click here)
1/2 sheet of matt off white paper. (click here)
1/2 row of 2mm self adhesive pearl rows. (click here)
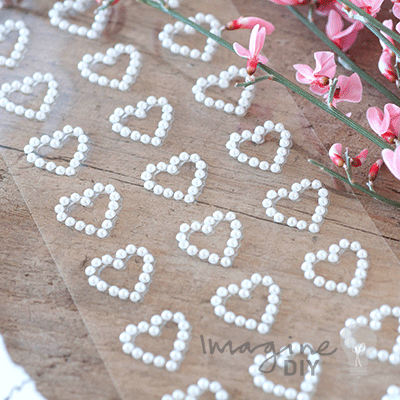
1 Self adhesive Pearl Heart. (click here)
3 x 3mm self adhesive pearls. (click here)
1/10 sheet of Polka Paper in Pink. (click here)
(*A different paper has been used in the example but the polka pink works amazingly in it's place)
Small offcut of Blue Josie Linen paper. (click here)
small offcut of Green Josie Linen paper. (click here)
Other things you might need:
Tape runner or double sided tape. (click here)
INSTRUCTIONS
- Print your calendar on to Matt White A4 paper and trim down to size. The trimmed size should be 13cm wide x 9cm high.
You should be able to print 4 invitation panels on to 1 sheet if you lay it out well. (Remember to offset the calendar to the right of your invitation panel).
- Print your tag (e.g. Leah and Jared are Getting Married! Please Save The Date) on to A4 Matt off white paper and trim down to size (appx. 5cm wide x 3.5cm high). You should be able to fit a number of tags on to each A4 sheet.
- Cut a piece of Kraft Card to 14.5cm x 10.5cm
- Cut a piece of Kraft Polka Dot paper to 14.5cm x 10.5cm. Use the double sided tape to stick the Polka Dot paper on to the Kraft card.
- Stick your invitation wording on top of the Polka Dot paper using double sided tape.
- CAREFULLY stick a self adhesive pearl heart around the date of your wedding.
- Cut a piece of Pink Polka Paper about 1cm larger than your wording tag. Use double sided tape to stick the Pink Polka paper in to place at the bottom left of the Save The Date Card; offset at an angle.
- Use double sided tape to stick the tag wording on to the Josie Linen paper.
- Use a scissors to cut tiny bunting shape triangles out of the different papers you have. Use your hot melt glue gun to carefully stick these in to place across the top left of your card. It's nice to give the effect of hanging bunting by gluing them in a slight bow shape.
- Peel off a row of 2mm self adhesive pearls and stick in to place at the top of your bunting.
- Stick a 3mm self adhesive pearl where each flag joins.....it's a really nice finishing touch!
And that's it! Your save the date calendar invites are ready to send :)