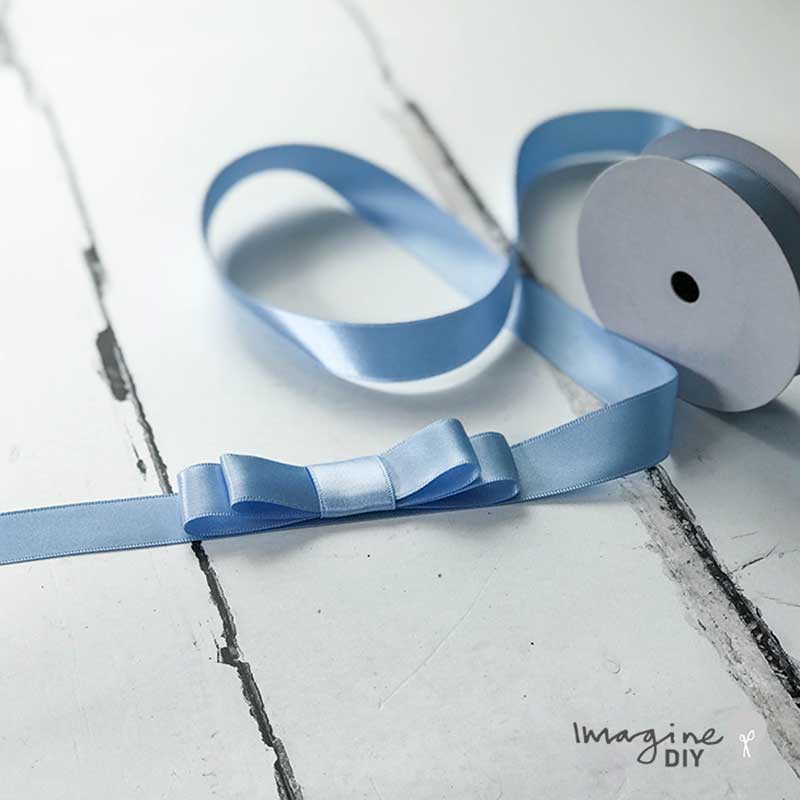
How To Make a Dior Bow - Easy DIY Dior Bow Tutorial with Satin Ribbon (but you can use whatever ribbon you want )
Although we stock a range of pre-made Dior bows, we are often asked for different colours, widths and textures. So we thought it would help if we put together a brief tutorial. We'll show you how you can make your own Dior Bow with the ribbon of your choice.
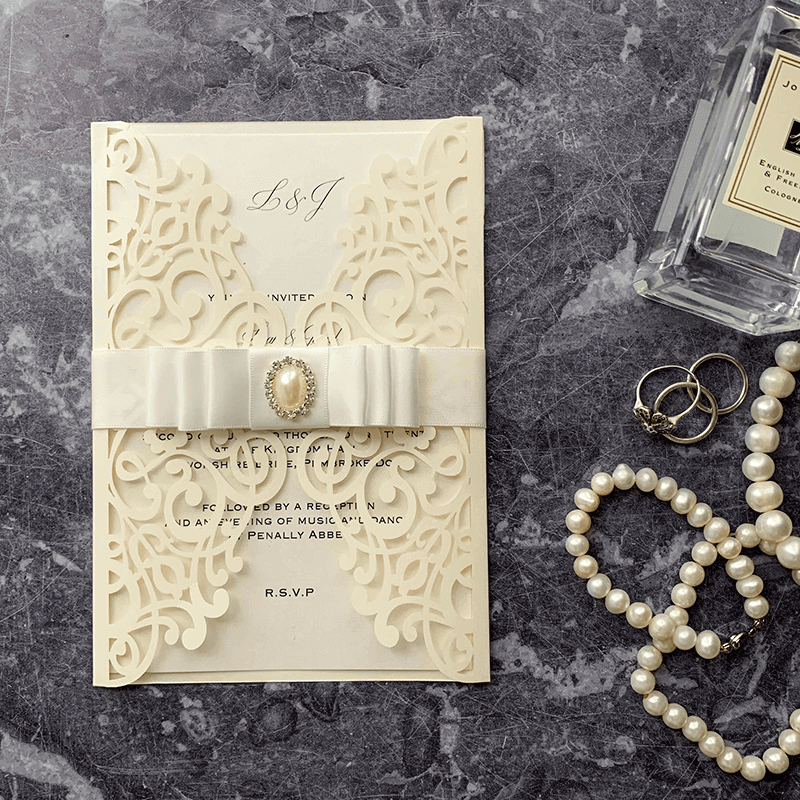
Dior Bows are a really elegant bow that works perfectly on DIY wedding invitations and stationery and lots of other craft projects. They sit flat (which is why I've heard some people call it a flat bow). The sense of luxury they add makes them well worth the extra time it takes to produce them.
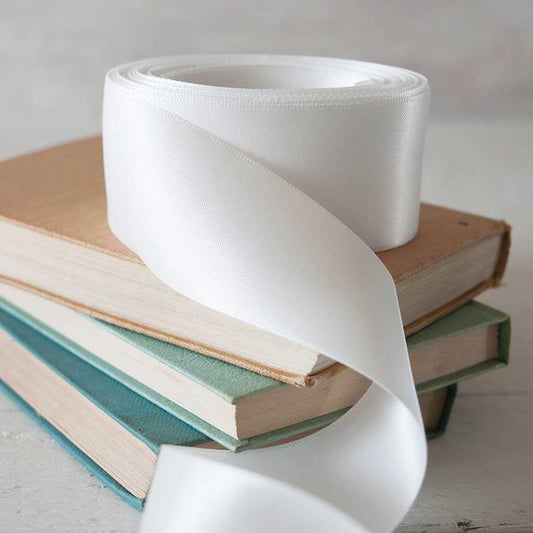
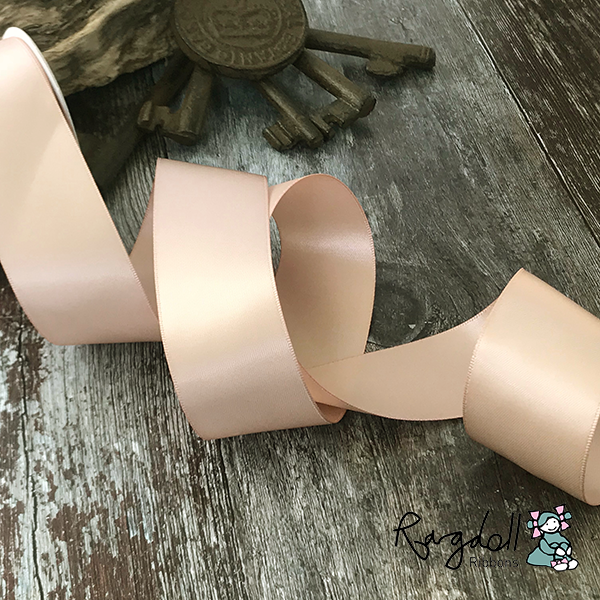
So I guess the first thing you need to do is choose your ribbon. To get you started, we have a great selection available in our online shop.
You will need:
Ribbon (click here)
or Lace (click here)
A Hot Melt Glue Gun (click here)
A Scissors
and if you're very fussy, a ruler will also come in handy.
There are several ways to make a Dior Bow, including using heat to melt the ribbon or using double sided tape or fabric glue. However, having tried a few methods, we found using a hot melt glue gun to be the most reliable and required very little skill to achieve a good result.
Although they are really easy to make, it's quite hard to give you written instructions so here's a useful video that will show you how it's done. (it's helpful to watch it with the volume on):
If you'd prefer written instructions, please watch the video first. The instructions will make a bit more sense once you've watched the video!
STEP 1
Use the hot melt glue gun to glue the edge of the ribbon. Fold the ribbon back on itself and press in to place. If you would like your Dior Bow to be 7cm long, you will need to press the glued edge into place at appx. 3.5cm along the length of the ribbon
STEP 2
Add a line of glue along the join and fold the opposite end of the ribbon in towards the centre, pressing in to place so that you have 2 loops of equal length. If you are making a single Dior Bow (just 2 loops), you can skip steps 3 and 4 and move straight on to step 5.
STEP 3
Taking the loose end, follow the line of the bow, add on an extra length until your happy with the size of the bow. Now fold it back in towards the back of the bow. Run a line of glue down the centre of the bow (at the back) and press your loose end in to place.
STEP 4
Repeat step 3 to form an identical loop on the opposite side. You should now have 4 loops (2 smaller ones at the top and 2 larger ones at the bottom). Use a scissors to trim off any excess ribbon.
STEP 5
Run a horizontal line of glue across the back, centre of your dior bow. Press the end of the ribbon onto the glue. Wrap the ribbon around the bow and use your glue gun to stick it in to place at the back of the bow. Trim off any excess.
STEP 6
You can now use your glue gun to stick your dior bow onto any surface you choose. If you're gluing onto card or paper, our high tack double sided tape will also work well.
And you're done! The more you make, the quicker you'll get so don't be put off. It really is worth the effort. You can use a variety of different ribbons and textures; even papers to create fabulous Dior Bows to decorate your DIY projects. So why not give it a go.
Here's some ways we've used Dior Bows. How will you use yours?


Subscribe to our Youtube Channel to see all our latest videos and tutorials.