How To Make .... Winter Wedding Invitations
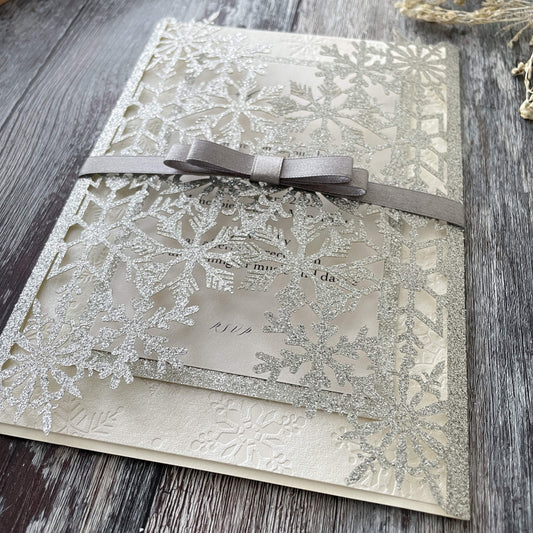
If you're planning a winter wedding, a themed invitation is a perfect way to set the scene. This sparking, snowflake covered invitation is easy to make, eye catching and oozes winter charm.
I've used a silver glitter, but to tone it down. you could choose a white laser cut instead. Why not give it a go?

Here's how we made this beautiful design:
For Each Invitation You Will Need:
1 x Sansa Laser Cut Invitation in Silver Glitter. (click here)1/ 2 sheet of Snowflake Embossed Paper in White. (click here)
1/4 sheet of Glitter Card in Sterling Silver. (click here)
1/3 sheet of Pearlised Ivory Card. (click here)
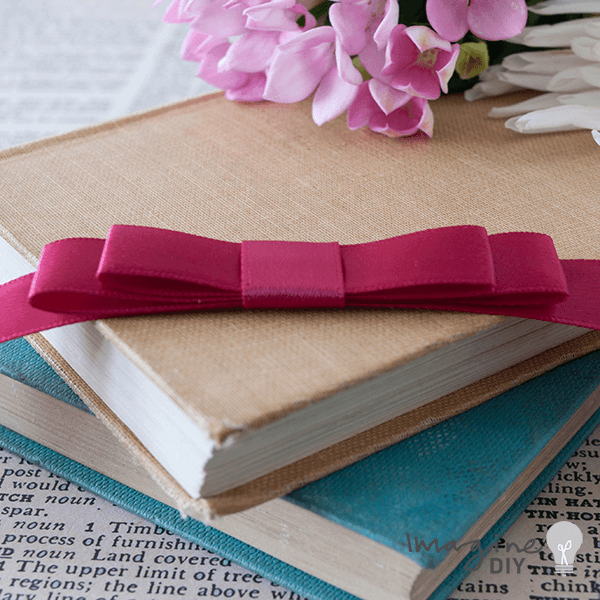
1 x Small Dior Bow in Silver Sparkle (click here)
Also:
A Paper trimmer
High Tack double sided tape. (click here)
You'll Also need to download this template:
INVITATION TEMPLATE
I used the following fonts:
Melika Letter, Melika Letter B and Melika Letter C
Cochin

So Here Are The Instructions……
- Use your paper trimmer to cut your Pearlised A4 card to 8cm x 13.5cm.
Download the template and type enter your wording. Make sure you check the spelling, grammar and layout before printing.
Once you're happy, print your invitation panel.
TIP - If your printer doesn't like printing on smaller sheets of card, print the invitation onto A4 card and cut it down to size after printing. - Cut the Snowflake embossed paper 12.5cm x 18cm.
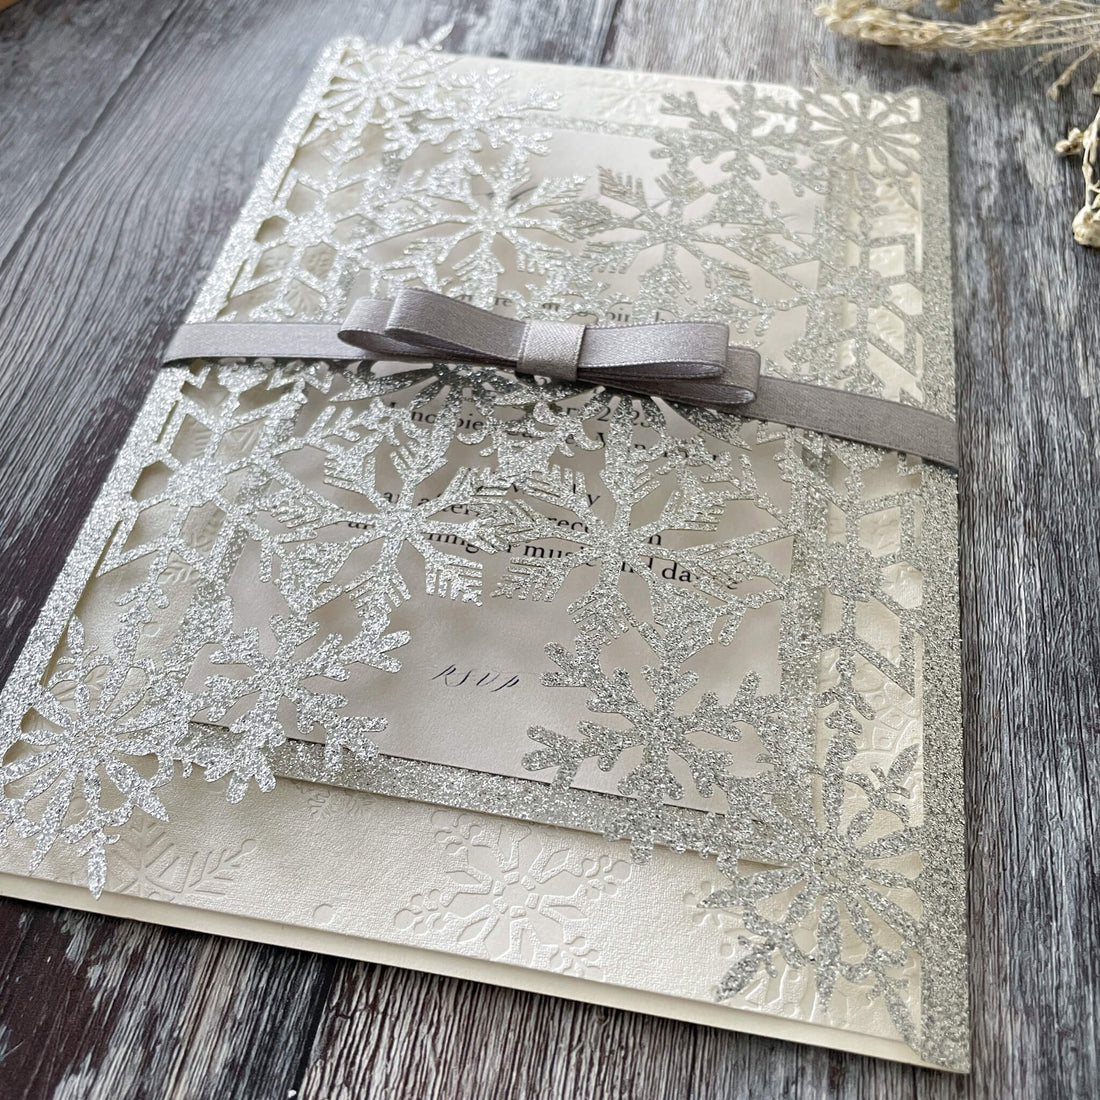
Open up the Sansa invitation and use the high tack tape to stick the embossed paper onto the centre panel, making sure all the borders are even. - Cut a piece of Glitter Card 9cm x 14.5cm
Use high tack tape to stick the glitter panel on top of the embossed paper, making sure all the borders are even. - Use high tack tape to stick the printed invitation panel on top of the glitter card
- Close the laser cut invitation.
Place the centre of the Dior bow at the front centre of the invitation. Fold both ends around to the back.
Holding the loose ends, turn the card so that it is face down on top of the dior bow.
Use double sided tape to stick one end of the dior bow on top of the other to form a band around the invitation. As you do this, make sure that you leave a little bit of slack so that the Dior bow can be easily slid off the invitation.
That's one beautiful winter wedding invitation finished!!
If you give this a go, let us know. We LOVE to see what you've made.