How To Make Elegant Wedding Invitations In A Few Easy Steps
Making your own wedding invitations can be a daunting task. But we've tried to make it as easy as possible. Even if you're not a creative person, you can make these chic DIY invitations in just a few easy steps. Even though they are so easy to make, you're guests are going to love them.
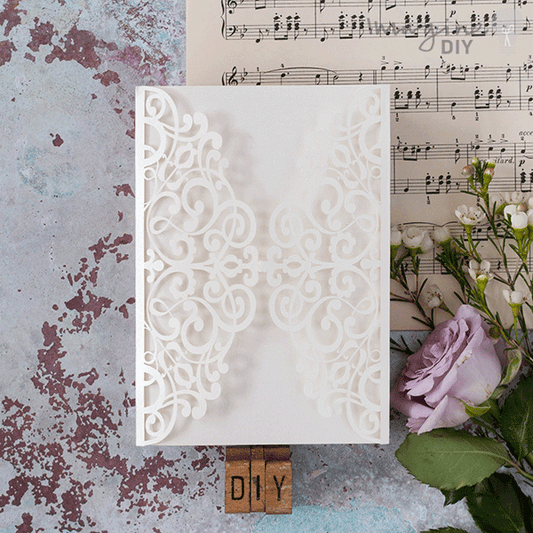
For this design, I've used the Lavish Laser cut Invitation in Ivory. Although I've only added an invitation panel, you can add as many extra inserts as you'd like. Just print them and tuck them in behind the main invitation.
The Lavish Laser Cut Invitation is available in alternative colours. So you can easily customise this design. I've shown how easy it is to customise just by choosing an alternative embellishment.
I've also used a pre-made Dior Bow. But you could also make your own. There's a youtube tutorial showing you how at the bottom of this design guide.
For Each Invitation You Will Need:
1 x Lavish Laser Cut in Ivory. (click here)
1/2 sheet of Glacier Grey Card. (click here)
OR 1 precut inset in Ivory. (click here)
1 x Cream Dior Bow. (click here)
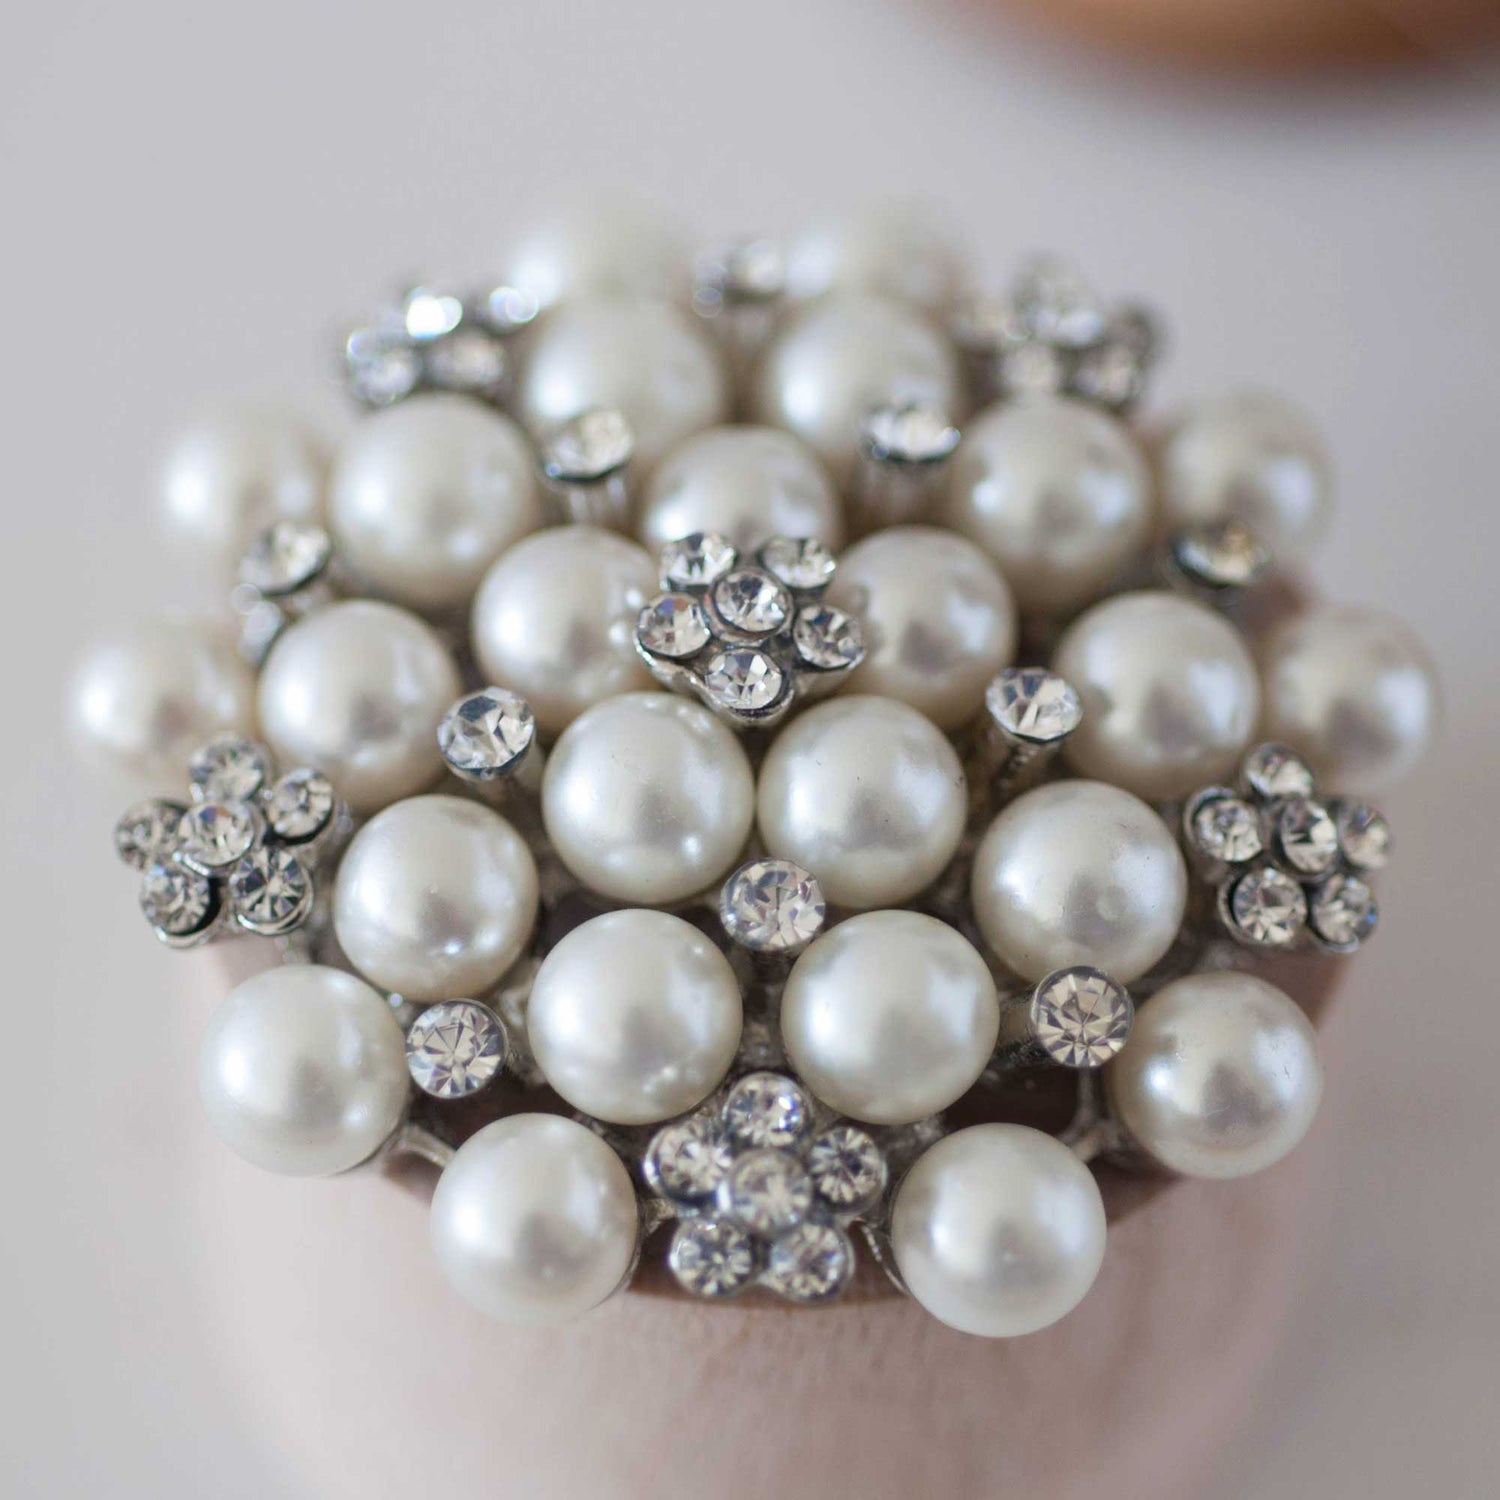
1 x Crystal and Pearl oval. (click here)
OR 1 x Boston Pearl Medium. (click here)
Also:
Envelope. (click here)
Hot Melt Glue Gun. (click here)
Paper Trimmer
If you’re not big on reading instructions, we’ve put together a video to show you how it’s done. (just press play)……
I used the Font Edwardian Script.
So Here Are The Instructions……

PRINTING
- Download the following template:
INVITATION WORDING
Type your wording in the spaces provided. Make sure you check that the spelling, grammar and layout are all correct. You will also need to check that the times, dates and locations are all included. I've used the font Edwardian Script. - If you are using the Glacier Grey Card (or other A4 card), you will need to cut down the card so that you have a panel measuring
17.5cm x 12cm. - Print your wording onto the inserts.
ASSEMBLING
- Open up the laser cut invitation and place your printed panel inside. Close the invitation over the printed panel.
- Take your Dior Bow and hold the centre of your bow against the front centre of the invitation. Wrap both loose ends of the bow around to the back of the invitation and place it face down on a flat surface so that the back of the card is facing you.
- Holding one end of the ribbon flat against the back of the card, use your glue gun to stick the loose side of the ribbon on top; to form a continuous band around the invitation.
- Turn the invitation around so that the front is facing you. If you need to, adjust the bow so that it sits in the middle.
- Use your glue gun to run a line of glue across the back, centre of your embellishment. Carefully stick this in to place on top of the bow. As you do this, be careful not to spill any glue onto the card.
And that's it!!! You're beautiful invitation is finished.

MAKE YOUR OWN DIOR BOWS....
If you'd like to try making your own Dior Bows, here's an easy to follow video tutorial to show you how....