Make Your Own Glitter Laser Cut Invitations
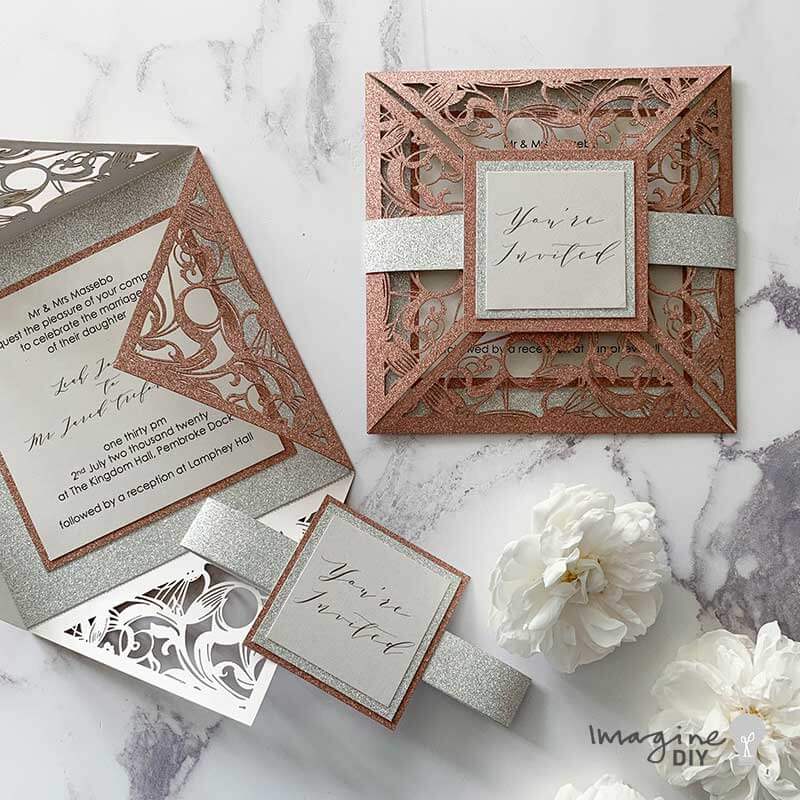
If you want to make a statement with your wedding invitations, glitter invitations are the perfect choice! Our extravaganza glitter laser cut range is striking but elegant. With this design, we've kept it simple, adding an elegant belly band. This allows the invitation to speak for itself.
We've used Rose Gold and Silver for this design but it really is easy to customise just by choosing alternative colours.
For Each Invitation You Will Need:
1 x Extravaganza Glitter Wedding Invitation in Rose Gold (click here)
1/2 sheet of Silver Glitter Card (click here)
1/2 sheet of Rose Gold Glitter Card (click here)
1/2 sheet of pearlised white card (click here)
1/10th sheet of Glitter Paper in Silver (click here)
Also:
PaperTrimmer (you only need one of these!)
High Tack Double Sided Tape (click here)
You might also want to consider a matching Rose Gold Glitter Envelope (click here)
TIP – Change the glitter card or invitation colour to coordinate with your theme.
If you’re not big on reading instructions, we’ve put together a quick video to show you how it’s done (just press play)……
You’ll also need to download this template…..
INVITATION AND FRONT TAG TEMPLATE
(you will be able to fit 2 invitation and 2 front tags on each A4 sheet)
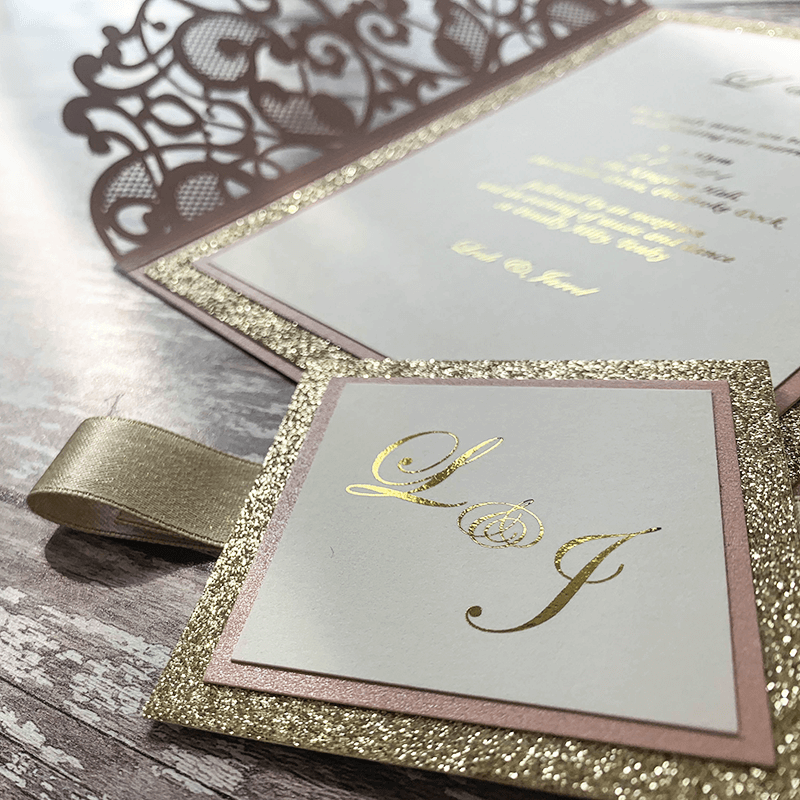
We used the following fonts:
Century Gothic and Melika Letters
So Here Are The Instructions……


Instructions
- Download the INVITATION AND FRONT TAG TEMPLATE . Type your wording in the printable areas. (We used the following fonts……..Century Gothic and Melika Letters).
Print onto the Pearlised White Card
Use your paper trimmer to cut the inserts down to size using the guides provided. (you don't need to cut exactly on the black line.....a few mm's inside will be fine) - Use your paper trimmer to cut the Silver Glitter Card to the following sizes:
14cm x 14cm
6cm x 6cm - Use your paper trimmer to cut the Rose Gold Glitter Card to the following sizes:
11cm x 11cm
6.5cm x 6.5cm - Use your paper trimmer to cut the Silver Glitter Paper to the following sizes:
2cm x 29.7cm - Use the high tack tape to stick the large silver glitter panel to the inside of the invitation (make sure you stick tape along each side and across the middle)
- Stick the Large Rose Gold Glitter card panel on top of the silver glitter card (as above). Make sure that your borders are even.
- Stick the printed invitation on top.
- Use high tack tape to stick the small silver glitter card panel on top of the small rose gold glitter card panel. Stick the small printed front tag on top, making sure the borders are even.
- Place the long strip of glitter paper face down on a flat surface.
- Run a line of double sided tape horizontally across the centre of the front tag
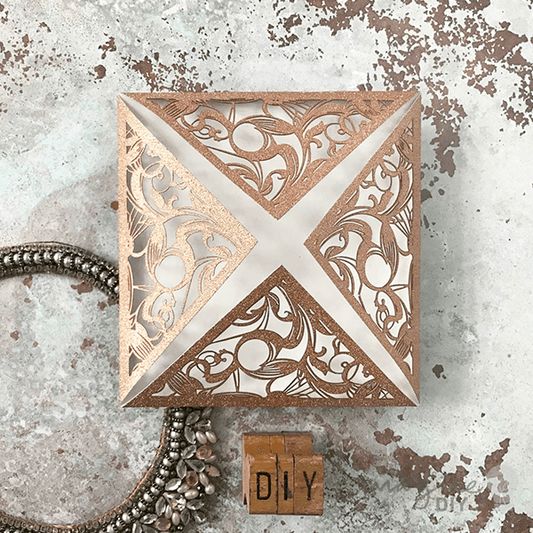
- Close the flaps of your invitation and place it on top of the glitter paper strip; roughly in the middle.
- Fold the ends of the glitter paper strip in towards the front of the invitation. Making sure they are level, hold the in to place and press the front tag in to place at the centre. This should cover the join in the paper.
So now you're finished! You have one breathtaking invitation ready to send to a special guest.