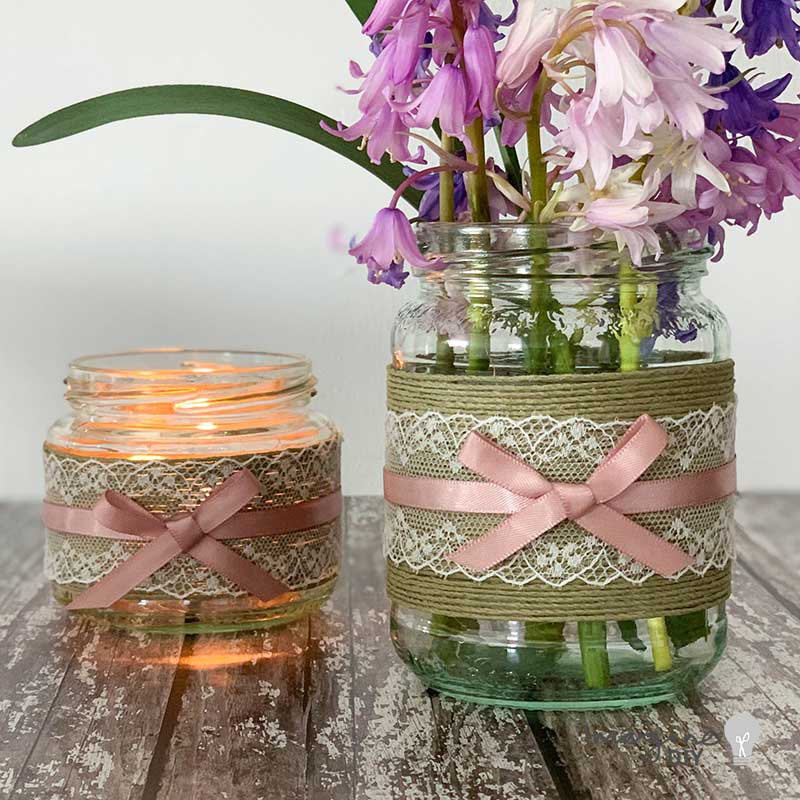
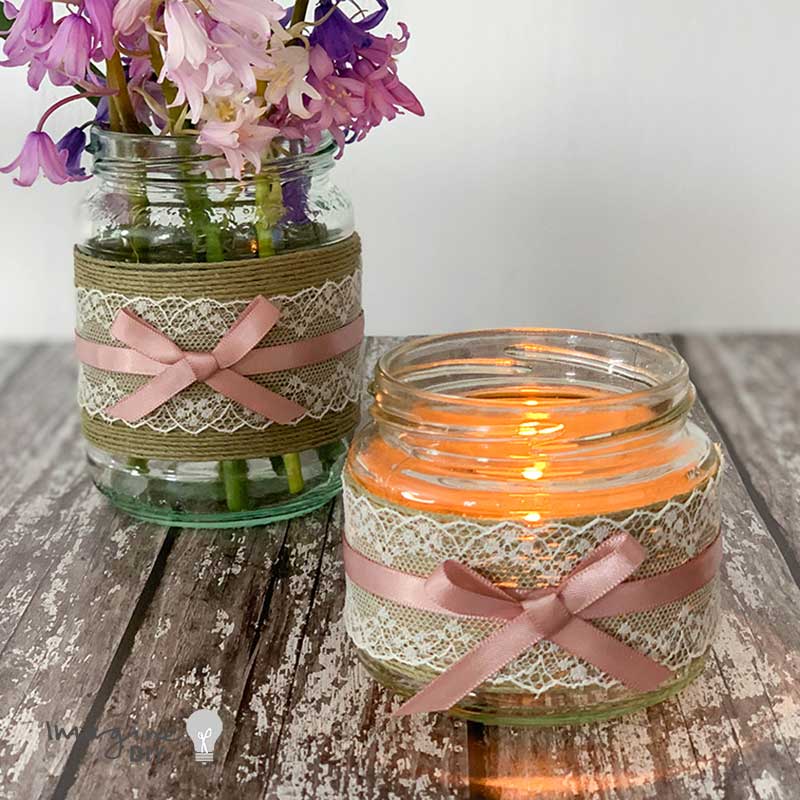
There's nothing like a romantic rustic wedding. And what better way to add a touch of charm than by making your own tea light holders and vases. They might take a few minutes to make but they add a beautiful, personal finishing touch.
We've put together a brief tutorial to get you started but let your imagination go wild. Changing the colours, or mixing and matching can create exactly the right feel for your big day.
So how do you make them?
First of all, collect all the jam jars you need. If you need a lot, spread the word to all your friends and family. You'll soon have a lovely collection all ready to decorate.
In addition to the jam jars, you will need:
A hot melt glue gun (click here)
Double Sided Tape (click here)
Hemp String (click here)
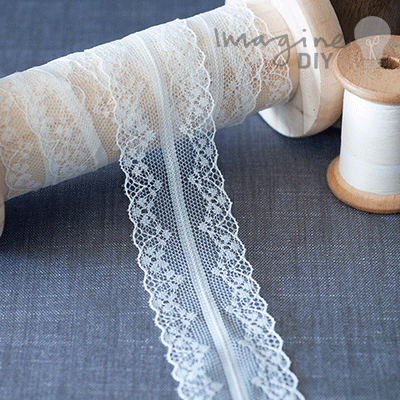
Lace (click here)
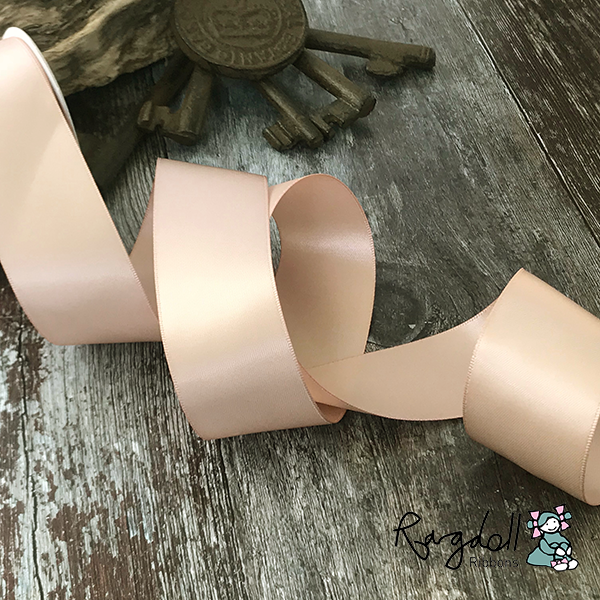
6mm Ribbon (click here)
If you don't like reading instructions, we've put together a YouTube video to show you how easy it is....
1 - Decide how wide you would like the trim to be. Cut 4 sections of double sided tape as wide as you would like the trim. Stick them around the jar, spacing them so that they are fairly evenly spaced.
2 - At the top of where you would like the trim to start, place a tiny amount of glue from the glue gun and press the end of the cord in to place. You can then start wrapping the cord around and around the vase. As you do this, make sure there are no gaps. Once you reach the place where you would like the trim to end, use your glue gun to secure the string and cut off any loose cord.
3 - Use the glue gun to run a line of glue along the cord (the same width as your lace). Press the lace in to place and quickly wrap it around the jar and press it in to place on top of the glue (if it has already dried, just use a little more glue from the glue gun to secure the end). Trim off any excess lace.
4 - Tie a small bow the your ribbon, trimming off any excess ribbon. (I like to use the bunny ears method).
5 - Place a small blob of glue in the middle of your lace and press the end of the ribbon in to place. Wrap it around the jar and then use the glue gun to secure the end in to place, trimming off any excess.
6 - Use the glue gun to stick the bow in to place on top of the ribbon.
And you're done!! Yay!!! But don't stop there!!! Have a look for some lovely embellishments to add. Maybe even add a tag! Mix and match your colours and materials to create something special just for you!