Lace Flowers with Pearls Wedding Invitation
These Flowers with Pearls Wedding Invitations are pretty and easy for you to make at home. Sometimes I get an idea in my head and have to stop everything I’m working on to see if that idea works as well in practice as it does in the complicated maze of my mind.
When I had finished working on this particular design, I couldn’t have been happier. It’s elegant and sophisticated but at the same time soft and feminine. The Die Cut flowers made from lace print paper, compliment the pearl embellishments astoundingly well.
This invitation does require the use of a Sizzix Machine and die. However, even though the Sizzix Machine may be a big up-front expense, overall, it’s an excellent investment, especially when you consider that you can use it across your whole range of wedding stationery. And if you love crafting, you’ll still be using this Machine way on in to the future for all sorts of amazing and exciting craft projects. It’s one of my favourite crafting tools and I’m sure if you splash out on it, it will soon become one of yours!
Here’s How To Make This Stunning Invitation:
For each invitation you will need:
1 sheet of Matt off white card. (click here)
1/2 sheet of Matt off white paper. (click here)
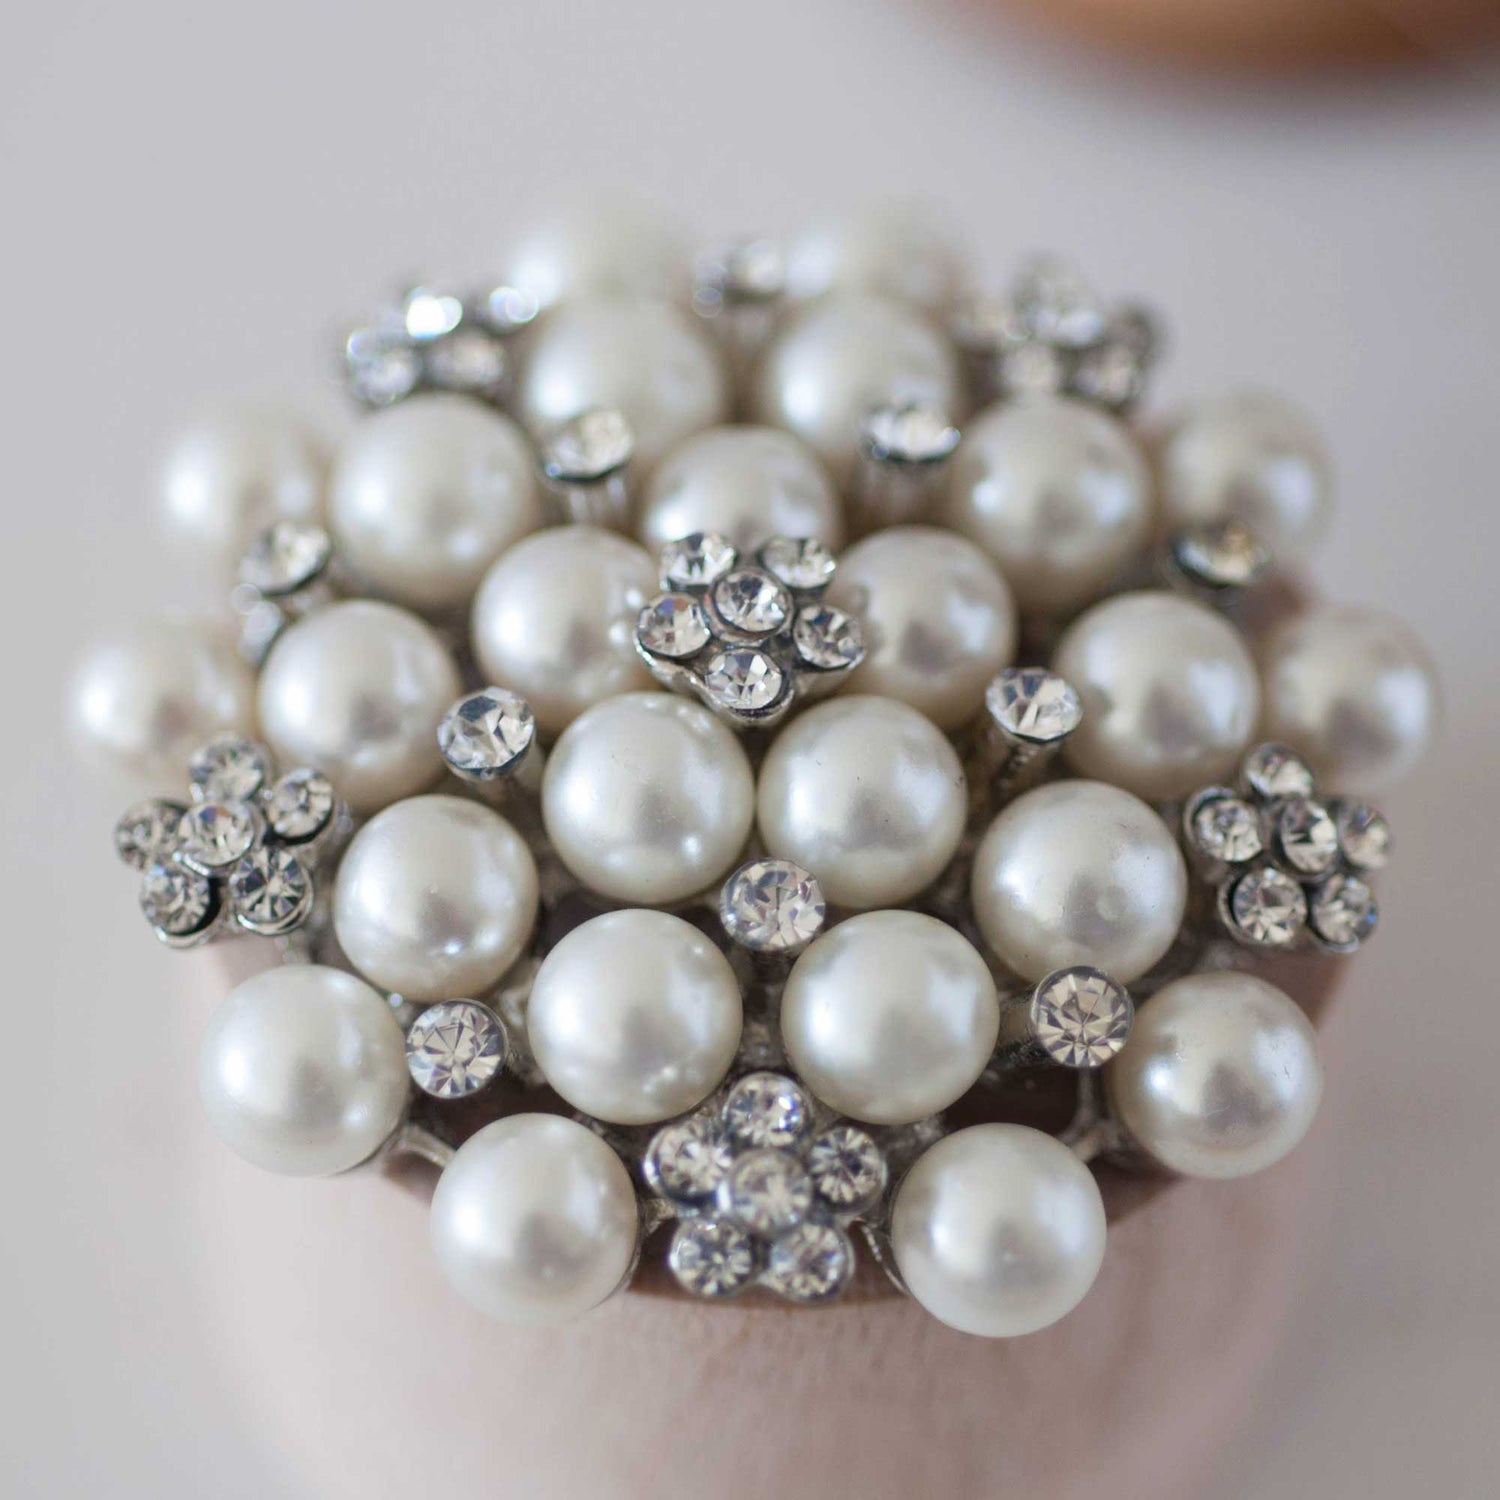
1 Boston Pearl Tiny. (click here)
Between 12 and 16 self adhesive pearls in various sizes. (click here)
Other things you might need:
Paper Trimmer
Tape Runner or double sided tape. (click here)
Hot melt glue gun. (click here)
Sizzix Machine
Sizzix Bigz Die Flower Layers with Heart Petals die set
Crop-A-Dile Corner Chomper (rounded)

INSTRUCTIONS:
Print your wording on to the Matt Off White Paper and cut down to size. The finished size should be 12.5cm wide x 17.5cm high. Remember to keep the wording set in the top 2/3 of the page with the bottom 1/3 of the page left blank (this is where your flowers will be stuck)
(You should be able to print 2 invitation panels on each sheet if you use a landscape format)
Cut 2 pieces of card 12.5cm x 17.5cm.
Use your tape runner to stick these 2 pieces of card together firmly. You will need to put a line of tape around the outside edges and a further line of tape about 1cm in from the edge. It also helps to run a line across the centre.
Stick your invitation panel on top.
You should now have a nice firm card.
Use your Crop-a-dile Corner Chomper to punch rounded corners on each side of the invitation.
Cut your valenciennes Ivory Paper in Half. Use your Sizzix Machine and die to make as many flowers as you can fit on to the sheet. I find it useful to line up the edges of the paper with the die and make an initial cut. I then trim off the excess and lay it on to the die to make some extra flowers.
Use your glue gun to stick and layer the flowers on to the card until you are happy with the way they look (It’s often useful to lay them all out before you stick them down and then pick them up and glue them one by one).
Use your glue gun to stick a Boston Pearl Tiny on to the centre of the largest flower.
Peel off various sized self adhesive pearls and stick them in the centre of the remaining flowers. To add a nice finishing touch, scatter a few self adhesive pearls around the flowers (but beware of using too many!)
So now you’re gorgeous invitation is finished!
You can personalise this gorgeous invitation by changing the colours and embellishments you choose.