How To Make .... Elegant Laser Cut Invitations with Silk Bow and Wax Seals
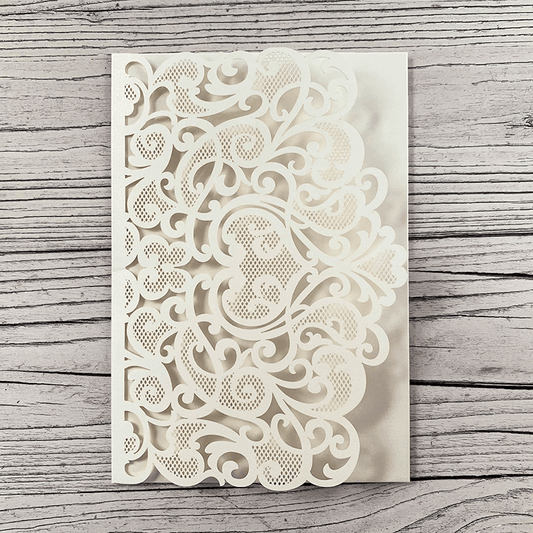
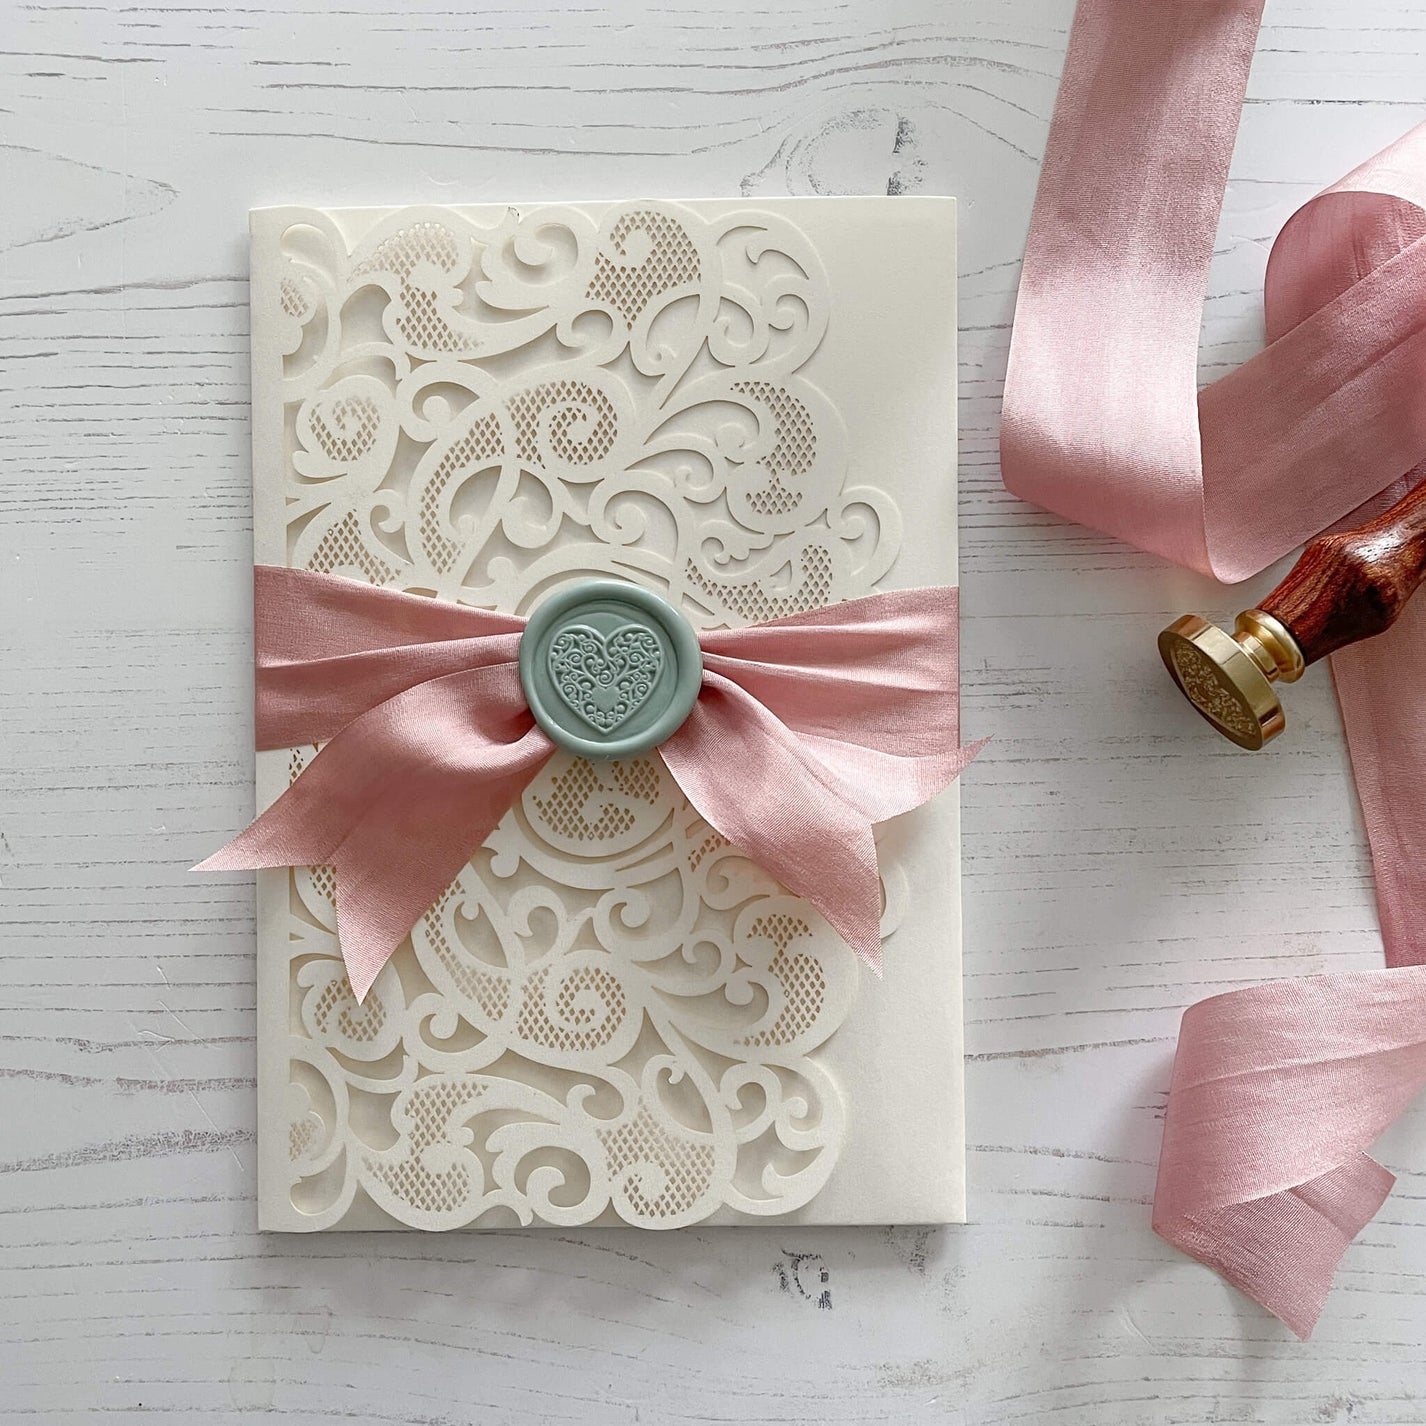
I love pocket invitations. They are such a beautiful way to present invitations and all the additional information you'd like to give to your guests. Our Amelie design has been one of my favourites for a long time. Adding silk ribbon and a wax seal has taken this beautiful invitation to a new level ...... it's nearly beautiful enough to make me want to get married again (to the same man obviously 😉)
This is a really easy invitation to make. The hardest thing is mastering the bow. But if you can tie a shoe lace, you can do this I promise!!
By making the wax seals separately and sticking them into place, you can also reduce the risk of spoiling any invitations with spilled wax.
The beauty of this invitation is that it's super easy to customise and make your own. Choose a different colour, invitation style, wax stamp or add an embellishment. Why not give it a go?
So ...... lets see how its made.
For Each Invitation You Will Need:
1 x Amelie Invitation in your choice of colour. (click here)
2 x 5 x 7 Inserts. (click here)
50cm of Closed edge Silk Ribbon in your choice of colour. (click here)
2 x Wax Beads or 1 Wax stick in the colour of your choice (1 wax stick will make appx. 10 invitations). (click here)
1 x Wax Stamp in your choice of design. (click here)
Double Sided Tape. (click here)
Also:
Sharp Scissors
Paper Trimmer
You’ll also need to download this templates…..
The following fonts were used:
Darleston
Mrs Eaves Petit Caps
If you’re not big on reading instructions, we’ve put together a video to show you how it’s done. (just press play)……

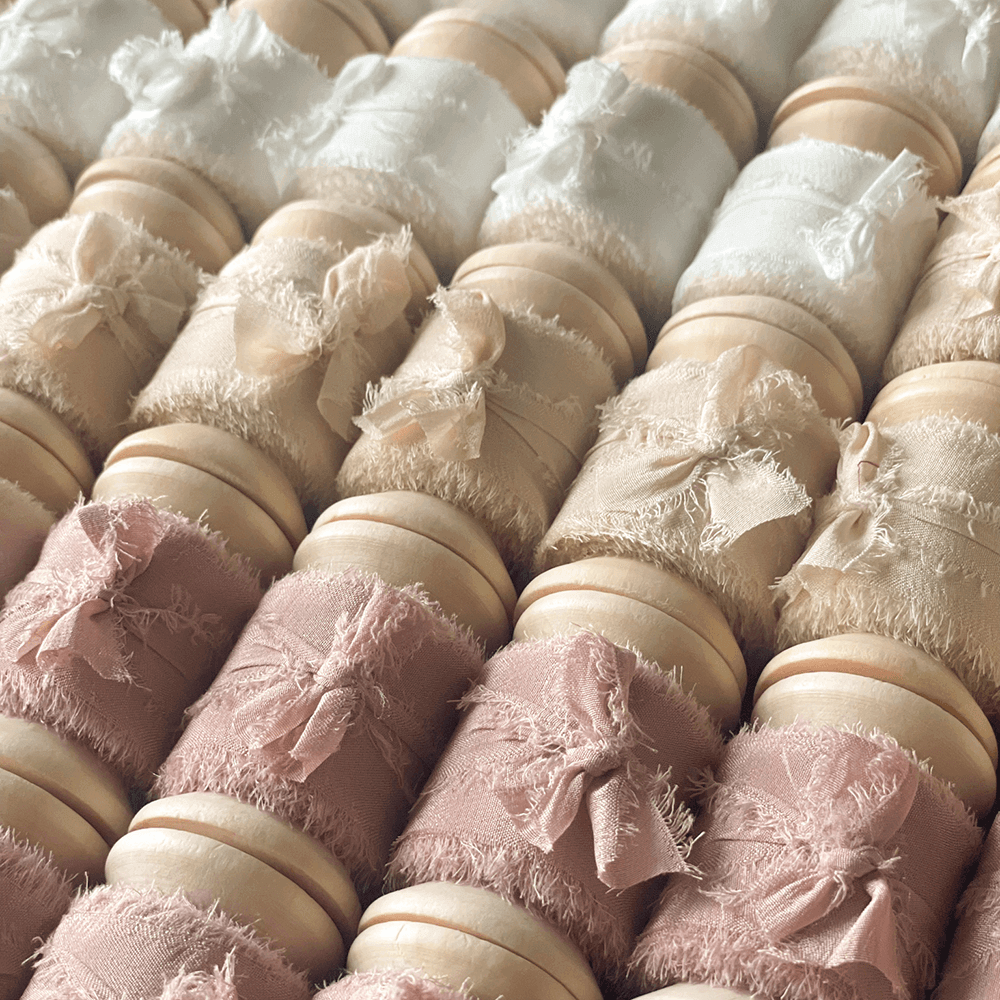
WAX SEAL
- Before you start making your invitations, it's helpful to make all the wax seals that you will need. This may take a little time but it's worth the effort. There are 2 ways you can do this.
You can use a wax melting spoon and tealight. This is the cheapest method but is quite time consuming.
WATCH VIDEO ON USING WAX MELTING SPOONS AND BEADS
OR you can purchase a low temperature glue gun and use wax sticks instead of wax beads. This is much quicker and more efficient but it does come at a cost.
WATCH VIDEO ON USING A LOW TEMP GLUE GUN
You will need to make 2 wax seals for each invitation.
PRINTING
- Download the following templates:
INVITATION
INSERT
I have used the fonts Darleston and Mrs Eaves Petit Caps. If you don’t have these fonts on your computer, you might find that the templates look a little weird when you first open them. However, by changing the fonts and font sizes, they will look much more like the sample in the picture. HOWEVER, please be sure to keep the texts within the boxes provided. - Type your wording in the spaces provided. Make sure you check that the spelling, grammar and layout are all correct. You will also need to check that the times, dates and locations are all included.
Ensure you leave a gap on the invitation panel for the wax seal. - Print your wording onto the inserts.
MAKING THE INVITATION
Now it's time to to put it all together.
- Use double sided tape to stick your pre-printed invitation panel onto the centre section of the laser cut invitation. Make sure your borders are even.
- Slot your pre-printed information panel into the pocket.
- Use double sided tape to stick your pre-made wax seal into place on your invitation panel. It's helpful to use a cross shape so that it sticks firmly.
- Close your invitation.
- Cut a section of silk ribbon appx. 50cm long. Place the ribbon on a flat surface.
- Place your closed invitation face up on top of the ribbon making sure it's roughly in the centre.
- Tie a knot at the front centre of the invitation. Place your finger on top of the knot to hold it into place as you carefully tie a second knot to form a double knot. Remove your finger just before you tighten the second knot.
- Adjust your knot and pull into a neat position so that the tails sit nicely.
- Run a line of double sided tape across the back of your second pre-made wax seal (make sure it runs in the same direction as the pattern on your stamp). Press it firmly into place on top of the knot.
- Pull the ends of your ribbon into a neat position and use a sharp scissors to neatly trim the ends of the ribbon.
Yay!!!! You're done!!!