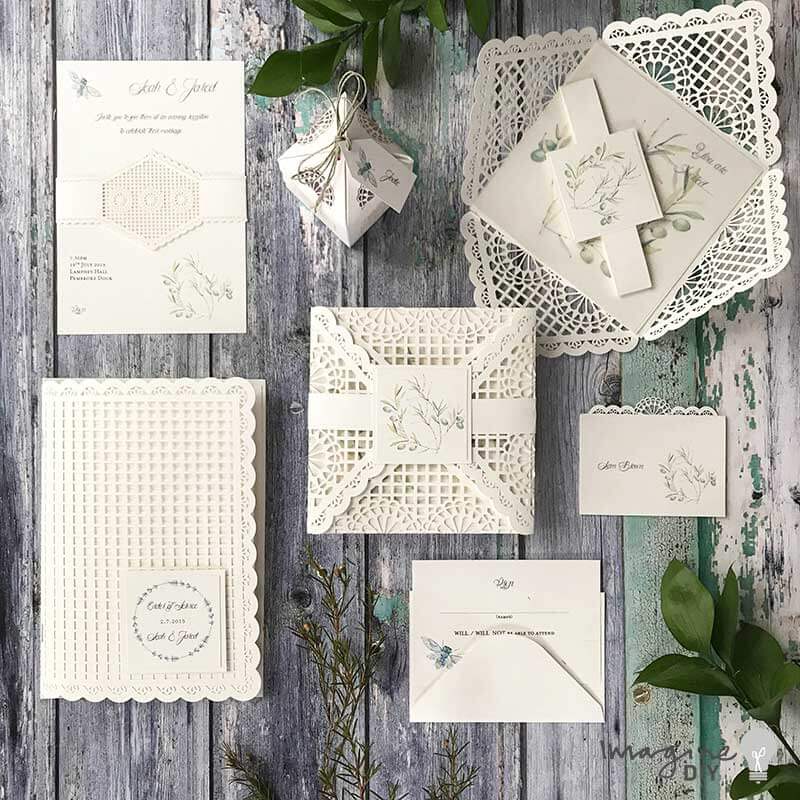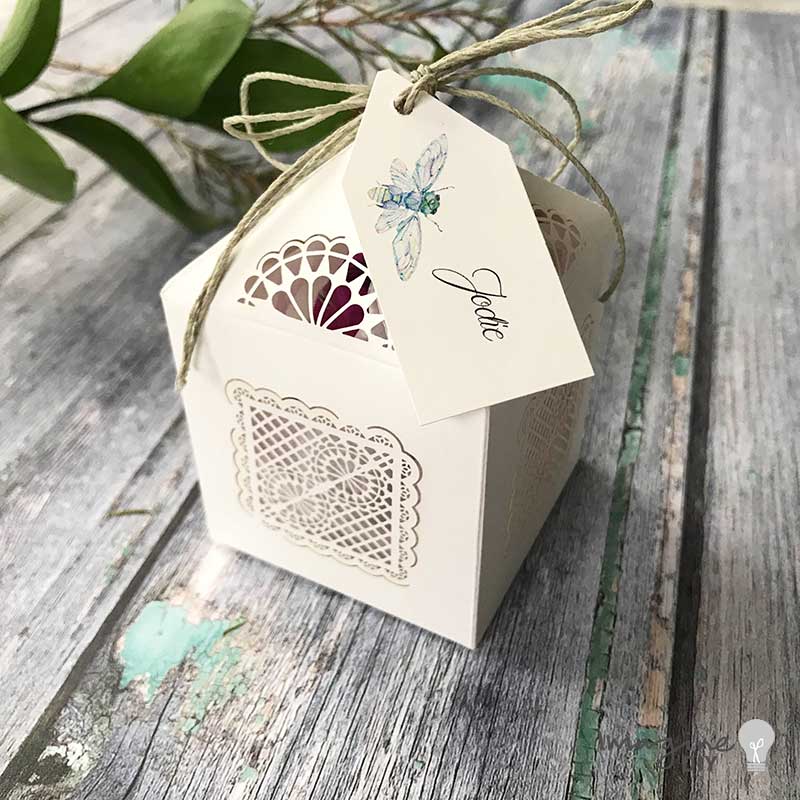
How To Make Tuscany Wedding Favour – Laser Cut Wedding Favour Box With Bee - Perfect for summer weddings!
What a stunning wedding favour box! Full of the charm of summer. This would work so perfectly for a garden wedding, or a romantic wedding in the Tuscan Hillsides. In fact, it would work perfectly for most summer weddings. I'm a little bit in love with the pretty bee graphic.
This wedding favour box is a tiny bit fiddly to assemble but it's totally worth the effort. Why not give it a go?
For Each Favour Box You Will Need:
1 x Seville Laser Cut Favour Box (click here)
1/12 sheet of Matt Off White Card (click here)
60cm of Dusty Olive Hemp Cord (1 roll will make appx. 100 invitations)
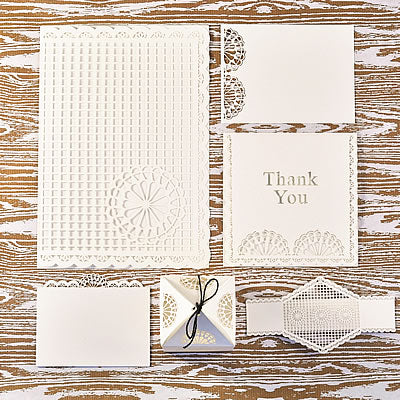
1 x Tuscany Printable Template Set (1 set has all the designs for the whole range)
.......you will also need a hole punch.
If you’re not big on reading instructions, we’ve put together a quick video to show you how it’s done (just press play)……
You’ll need to download this template…..
TUSCANY TEMPLATE
(download the Order of Service & Tags Template)
We used the following font:
Aligot de Mirabelle
So Here Are The Instructions……
- Download the Printable Templates File.
- Open the file for RSVP, favour box and front tags. Copy the Favour Box Tag and paste it in to a new document. You should be able to comfortably fit about 12 tags on to the page. Once you have pasted them onto a new document, rearrange them so that they are well spaced.
- You can now type your guest names in the space provided. Once all your tags have guest names, you can print them out on to a sheet of matt off white A4 card.
- Use a sharp scissors to cut around the outline of the favour box tag. Once all your tags have been cut down to size, trim the top end (nearest the bee) in to an inverted "V" shape to form a tag.
- Use a hole punch to punch a small hole in the top of the tag (I used a crop-a-dile)
- Fold along all the creases of the favour box to make it easier to assemble. Once you have done this, fold the box in to place, leaving the top open.
- Fill the favour box with your choice of goodies.
- Cut 2 lengths of hemp cord appx. 30cm long. Take 1 length and thread it through opposite holes at the top of the favour box flaps. Draw the string in to the centre and tie a knot. Take the 2nd length and thread it through the remaining 2 holes at the top of the favour box flaps. Draw the string in to the centre and tie a knot. As you do this, make sure that all the flaps are tucked inside the box and that the edges are all nicely lined up.
- Take 2 lengths of string and feed them through the hole in one of your favour box tags.
- Take the other 2 lengths of string and tie a bow to secure the tag in place at the top of the favour box.
- You'll be pleased to know you're finished!! Yay!!!