How To Make Tuscany Wedding Order of Service – Laser Cut Order of Service With Lavender
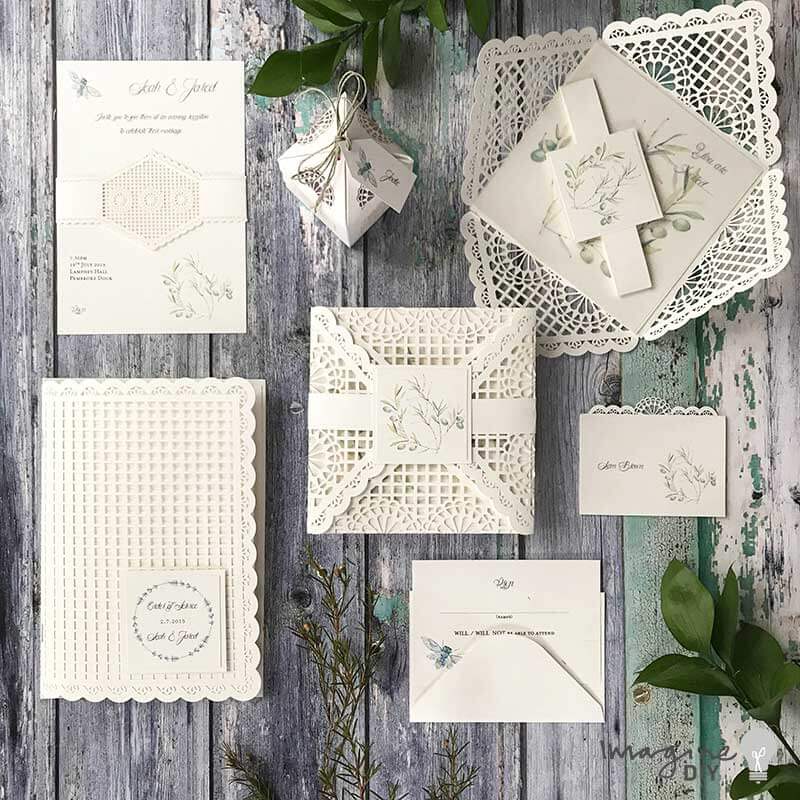
I can't tell you how much I love the romantic Tuscany range of wedding stationery. This beautiful Order of Service captures the charm of summer with it's beautiful Lavender graphics. It's just perfect for rustic summer weddings.
These Order of Service's are fairly easy to make but create a real impression. So why not give it a go?

For Each Order of Service You Will Need:
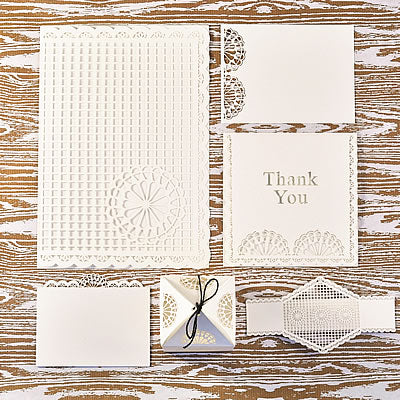
1 x Seville Order of Service Cover (click here)
1/6 sheet of Matt Off White Card (click here)
1 (or more) x Matt off White Paper (depending on how many sheets you need in your Order of Service) (click here)
1 x Tuscany Printable Template Set
1 x Double Sided Tape Runner (click here)
Mini Mounting Pads
Paper Trimmer
......you will also need a long arm stapler
If you’re not big on reading instructions, we’ve put together a quick video to show you how it’s done (just press play)……
You’ll need to download this template…..
TUSCANY TEMPLATE
(download the Order of Service & Tags Template)
We used the following fonts:
Aligot de Mirabelle & Mrs Eaves Petit Caps
So Here Are The Instructions……
Instructions
- Download the Printable Templates File.
- Open up the file for the RSVP, Favour Box and Front Tags. Find the Order of Service Front tag and enter your wording in the spaces provided. Once you are happy, copy and paste it on to a new page (you may have to copy it in layers to make sure the graphics transfer across)
- Copy the Tag 6 times. Adjust the position of each tag so that you have 2 layers of 3 tags towards the top of the page. Once you are happy, print onto Matt Off White A4 card.
- Use your paper trimmer to cut off the blank bottom half of your sheet. You can then cut each tag down to size. The trimmed size should be appx. 6.25 x 6.25cm.
- Take the blank half of your card and use it to cut out 6 panels, each measuring appx. 7cm x 7cm.
- Use your tape runner to stick the printed panel onto the larger card panel.
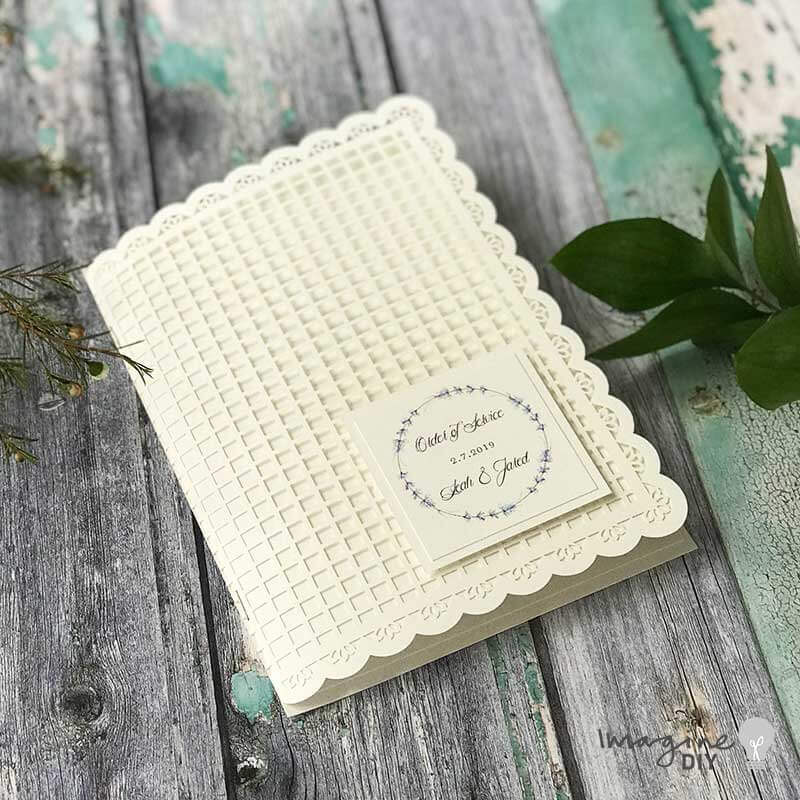
- Take your Seville order of service cover. Peel off some mini mounting pads and stick one in the centre of the laser cut circle and app 7 or 8 mini mounting pads around the border of the circle. Peel off the backing and press your front tag in to place.
- Your order of service cover is now finished. All you have to do now is print off your Order of Service wording on to A4 paper and attach it inside the cover using a long arm stapler. (Tip......Keep the front page of your order of service blank so that it doesn't interfere with the laser cut design).
- Open up the “You Are Invited” file. Print it on to one of the Invitation Inserts.
- Use your paper trimmer to cut a piece of Clear vellum 14.5cm x 14.5cm. Open up the Olive Branch file and print the image on to the vellum paper.
- Open up the file for the RSVP, front tag and Favour Box tag. Type your wording on to the RSVP card and print the entire sheet onto the Matt off White A4 Card. You will see that the RSVP cards and Olive Branch image have boxes for you to cut around. Before you cut these out, use a paper trimmer to cut a 2.5cm x 21cm strip from the side of the card. Now you can use the guides provided to cut out your RSVP card and front tag. The finished sizes should be appx: RSVP – 13cm x 8.5cm; FRONT TAG – 6cm x 6cm.
- Use any excess Matt off white card to cut a backing layer for your front tag. You will need a piece appx. 6.5cm x 6.5cm
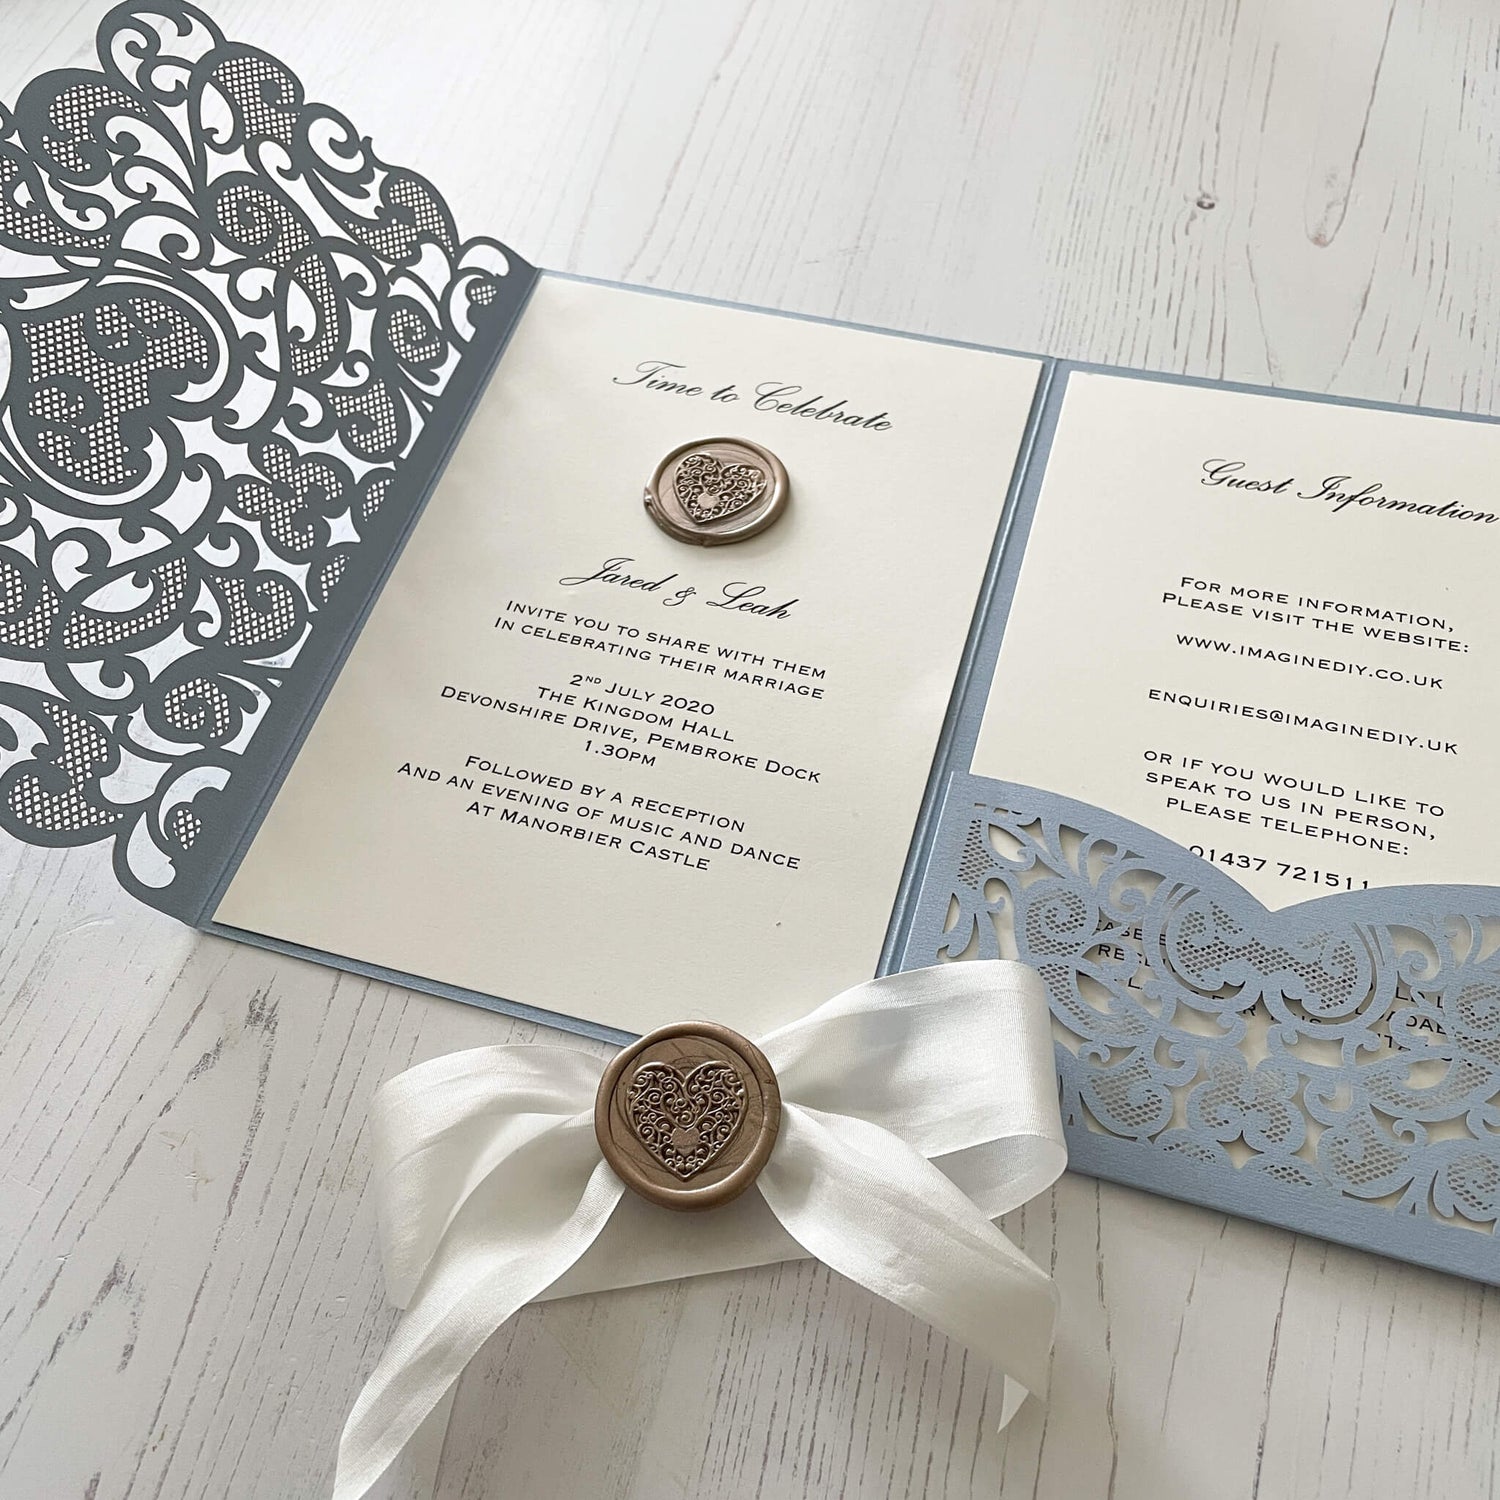
- Open up your Seville laser cut invitation and place the invitation, the RSVP card, the Your Invited panel and then the Olive Branch Graphics inside. Fold the invitation closed.
- Take your front tag backing layer and your Front Tag Image (the smaller olive branch). Use the tape runner to stick the layers together, making sure the borders are even.
- Place your long strip of card on a flat surface. Place your invitation on top (roughly in the middle. Fold both sides on the card in towards the front middle of the invitation. Run a few small lines of tape from the tape runner along the each edge of the strip of card. Carefully press your front tag in to place on top of the card. This should form a band around the invitation.
- …..and that’s it!! Sit back ….. your work here is done!!!! Yay!