Make Your Own Winter Wedding Invitations
There's something so romantic about a winter wedding. And no winter wedding is complete without some snow.
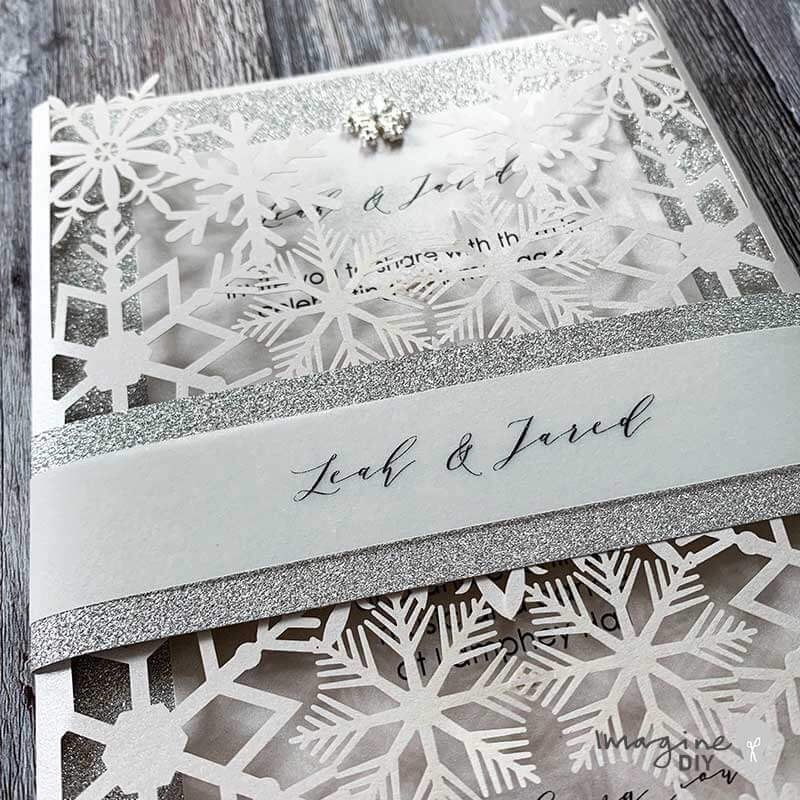
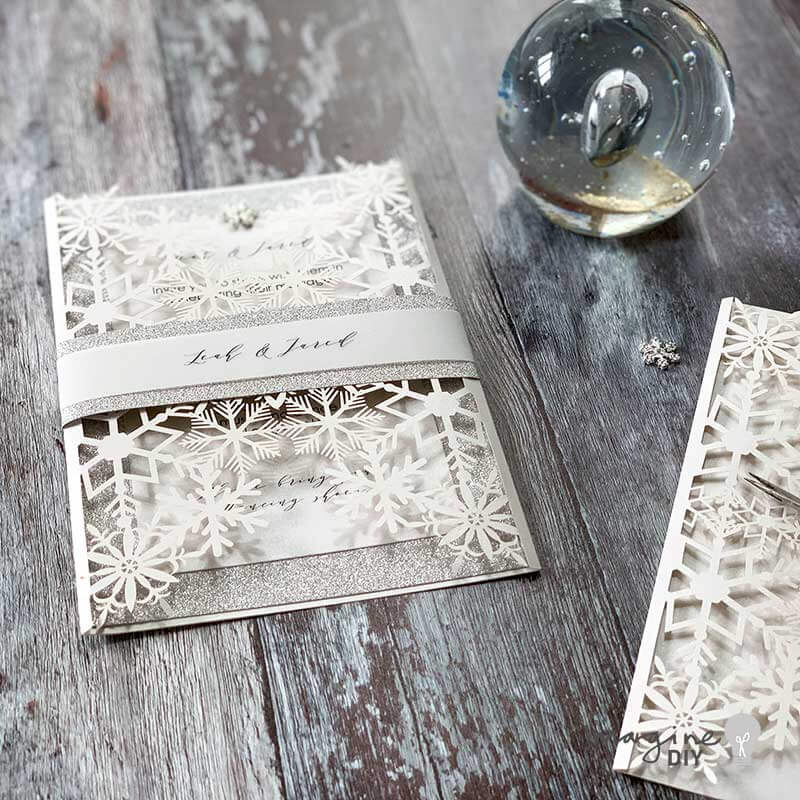
With winter weddings fast approaching, I thought I'd design something extra special for all your winter brides. I love the snowflakes combined with the silver glitter. It perfectly captures the essence of winter weddings.
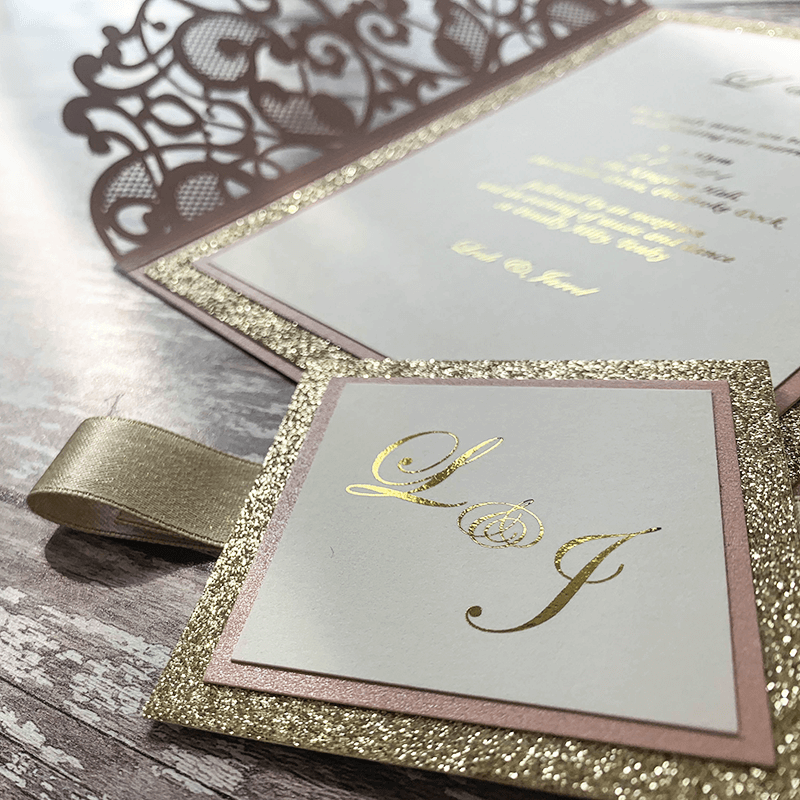
Although I love the combination of silver with white, if it doesn’t match your theme, there’s no need to worry. This is a super easy invitation to customise. Just change your choice of glitter paper to create something unique to you.
For Each Invitation You Will Need:
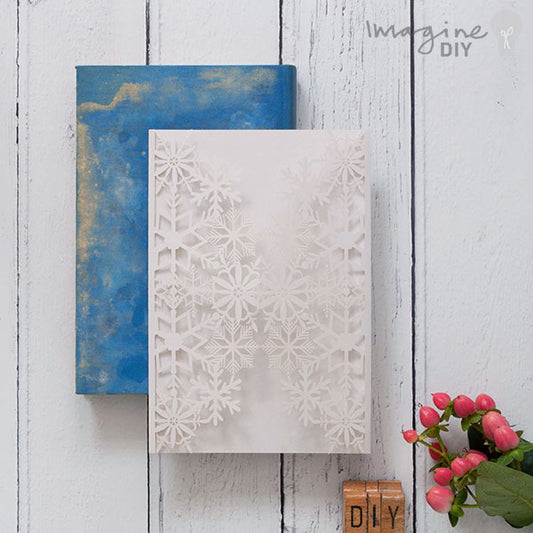
1 x Sansa Laser Cut Invitation (click here)
1/2 sheet of Silver glitter Card (1 sheet makes 2 invitations) (click here)
1/6 sheet of Silver paper Card (1 sheet makes 6 invitations) (click here)
1/3 sheet of Pearlised White Card (1 sheet makes 3 invitations) (click here)
1/5 sheet of Vellum Paper (1 sheet makes 5 invitations) (click here)
1 x Khaleesi Crystal Snowflake embellishment (click here)
Also:
PaperTrimmer (you only need one of these!)
High Tack Double Sided Tape (click here)
Hot Melt Glue Gun (click here)
TIP – Change the backing card, patterned paper or ribbon to coordinate with your theme.
If you’re not big on reading instructions, we’ve put together a video to show you how it’s done (just press play)……
INVITATION TEMPLATE
BELLY BAND TEMPLATE
We used the following fonts:
Century Gothic and Melika Letters
So Here Are The Instructions……

Instructions
- Use your paper trimmer to cut your Silver Glitter card to the following measurements: 18cm x 12.25cm (you should be able to cut 2 panels out of each sheet)
- Use your paper trimmer to cut your pearlised white card to 15cm x 9.2cm. (you should be able to cut 3 panels out of each sheet)
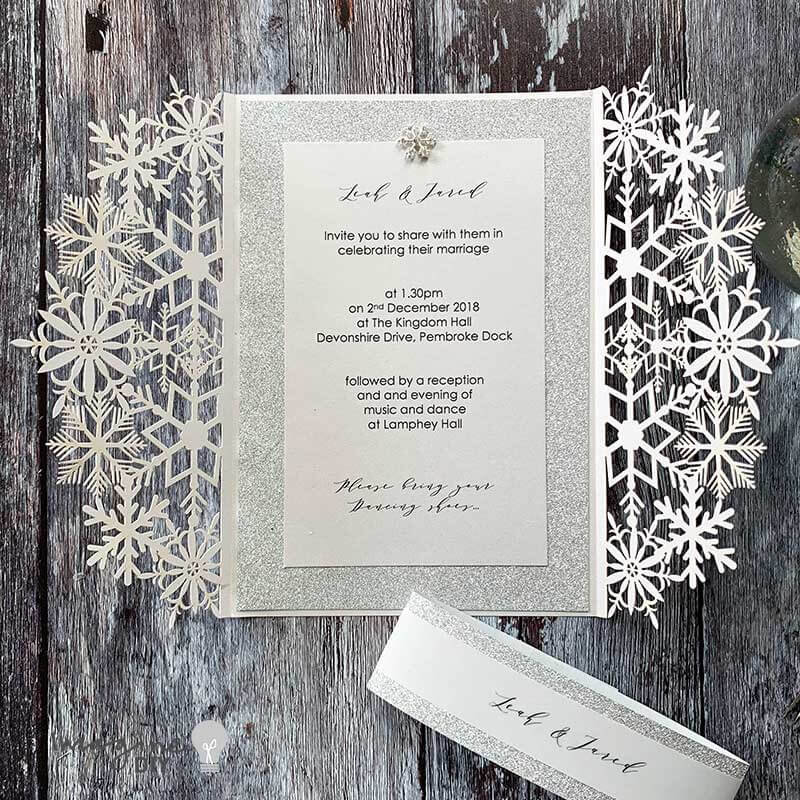
- Download the INVITATION TEMPLATE. Type your wording in the printable areas. (We used the following fonts……..Century Gothic and Melika Letters).
Print onto the Pearlised White Card Panel. - Open up your invitation and use your high tack tape to stick the silver glitter card panel to the inside of the invitation. Make sure the borders are even.
- Use the high tack tape to stick the printed invitation panel on top of the silver glitter card. Make sure that there borders are even.
- Use your paper trimmer to cut a strip of silver glitter paper appx. 28cm x 3.5cm wide. (This can be a little tricky so you will first need to cut the paper to 28cm long. You will then need to calculate how much to trim off.....e.g. if your paper is 21cm wide; you will need the first cut to be at 17.5cm; the second cut to be at 14cm etc. This will give you widths of 3.5cm)
- Place one of the silver glitter paper bands face down on a flat surface. Close your invitation and place it face down in the centre of the glitter paper band. Fold both ends of the glitter paper in towards each other and then use your high tack tape to stick one end of the band on to the other (forming a band around the invitation). Make sure you don't do this too tightly because you will need to be able to slide the band off the invitation)
- Download the BELLY BAND TEMPLATE. Type your wording in the printable areas. (We used the following font…….. Melika Letters).
Print onto the Vellum Panel. - Use your paper trimmer to trim appx. 1cm off each end of the vellum paper so that it measures appx. 28cm wide.
- Use your paper trimmer to cut along the lines provided so that you have strips of vellum with your message printed across it.
- With your invitation facing you; position the vellum band so that the text sits in the middle of the invitation, on top of the glitter paper band. Fold the loose ends around to the back of the invitation. Turn the invitation over so that it is face down. Use your high tack tape to stick one end of the vellum band on to the glitter paper panel. Use more high tack tape to stick the loose end of the vellum in to place on top; forming a band around the invitation.
- Turn your invitation around so that it is facing you. Use a small blog of glue from the glue gun to stick the Khaleesi Crystal Embellishment in to place in the centre of the invitation, where the printed panel meets the glitter card panel.
Now you can feel pretty proud of yourself!!! Your guests are going to LOVE your creation!!!!