How To Make …. Easy Vellum Wrap Invitations with Wax Seal
If you're looking for a stylish, low cost way to present your invitations to your guests, vellum wraps are perfect. You can use them for invitations on their own, or all a whole range of additional information from RSVP cards to Guest Information sheets and Maps. They can elevate a very simple design to something chic and stylish. And the great thing about them is that they are super easy to make and pretty cheap too! What could be better?
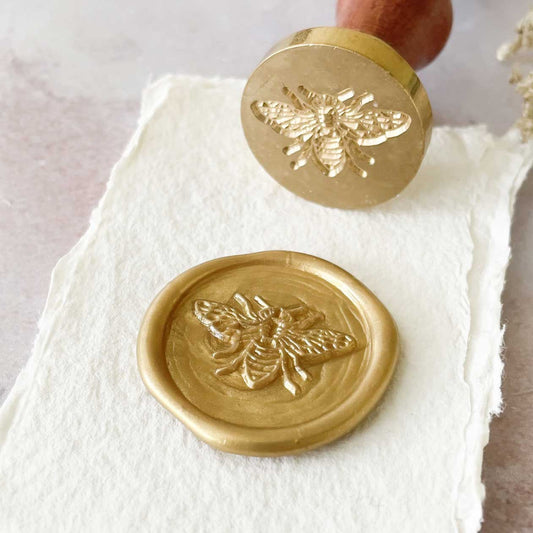
In this design, I've opted for very neutral colours, a natural jute string and a bumble bee wax stamp (one of my personal favourites). But you can make all sorts of changes to this design to make it personal to your wedding....
choose different colour card, a different wax stamp, replace the string for a ribbon etc.
So here goes ...... lets see how its made.
For Each Invitation You Will Need:
1 x sheet of Vellum (click here)
1 x sheet of A4 Card in Matt Off White (click here)
120cm of fine Flax Cord in Dark Natural (click here)
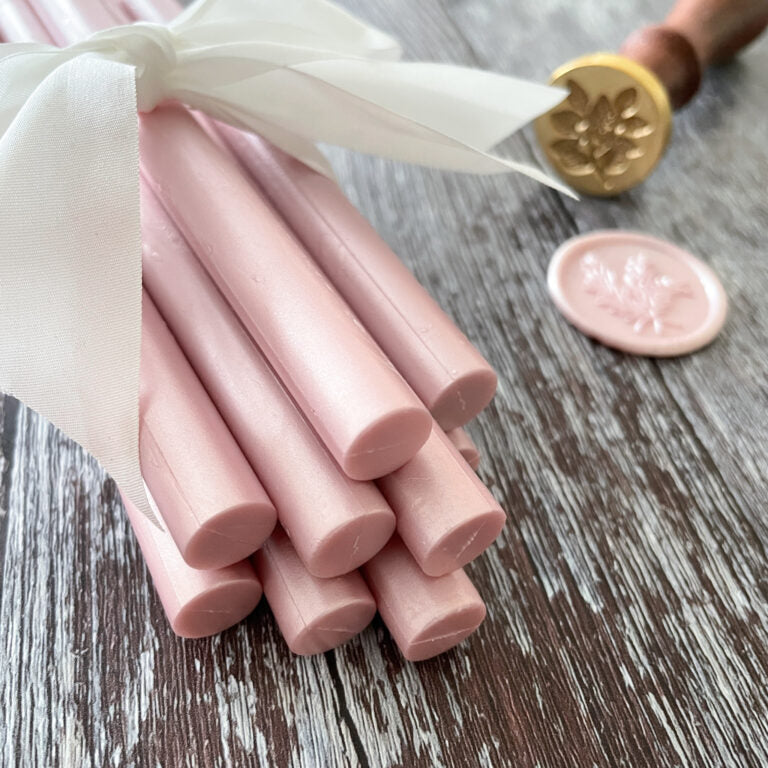
1.5 x Champagne Wax Beads (click here)
1 x Bee Wax Stamp (click here)
Double Sided Tape (click here)
Also:
Envelope (click here)
Wax Melting Spoon (click here)
Scissors
Paper Trimmer
If you’re not big on reading instructions, we’ve put together a video to show you how it’s done. (just press play)……
INVITATION TEMPLATE
RSVP TEMPLATE
I used the fonts Mrs Eaves Petit Caps, Lovefern (and Lovefern Swashes for the glyphs).
So Here Are The Instructions……

PRINTING AND CUTTING
- Download the following templates:
INVITATION TEMPLATE
RSVP TEMPLATE
I have used the fonts Mrs Eaves Petit Caps, Lovefern (and Lovefern Swashes for the glyphs at the sides of the names). If you don't have these fonts on your computer, you might find that the templates look a little weird when you first open them. However, by changing the fonts and font sizes, they will look much more like the sample in the picture. HOWEVER, please be sure to keep the texts within the boxes provided. - Type your wording in the spaces provided. Make sure you check that the spelling, grammar and layout are all correct. You will also need to check that the times, dates and locations are all included.
- Print your wording onto your A4 card and use a paper trimmer to trim to the following sizes.
Invitations - 18cm x 13cm
RSVP Cards - 9cm x 11.5cm - Cut a piece of vellum paper 27cm wide x 13cm high. This will form your wrap.

WAX SEAL
- Before you start making your invitations, it's helpful to make all the wax seals that you will need. This may take a little time but it's worth the effort. There are 2 ways you can do this.
You can use a wax melting spoon and tealight. This is the cheapest method but is quite time consuming.
-
WATCH VIDEO ON USING WAX MELTING SPOONS AND BEADS
OR you can purchase a low temperature glue gun and use wax sticks instead of wax beads. This is much quicker and more efficient but it does come at a cost.
WATCH VIDEO ON USING A LOW TEMP GLUE GUN

THE FINAL TOUCHES
- Place your invitation and RSVP card in the centre of the vellum. Fold both sides in towards the centre and use your thumb to create a tight crease at the sides (where the vellum sits against the card). You might find it useful to use a ruler or the edge of your thumbnail to firmly press along the creases so that you get nice shape, crisp edges. This will also prevent your wrap from popping open.
- Cut off a length of string appx. 120cm long. Turn the invitation so that it's face down. Place the centre of the string at the centre back of your invitation. Now you need to wrap both ends of the string around to the front of the invitation. Keep wrapping the string around the invitation from both ends until you have 3 separate threads and you meet back in the front centre of your invitation.
- Use your finger to hold the centre of the string in place and carefully pull one end of the string towards the top of the invitation and one end of the strong towards the bottom. Place a weight in the centre to hold in place (your cooled wax stamp would be perfect)
- Take one of the wax seals you have made and place 2 small strips of double sided tape at the back in the shape of an X. Make sure you fold in any overlapping edges of tape.
- Carefully remove the weight that is holding the string in place and press the wax seal firmly into place.
- Use a scissors to cut off any excess string.
And there you have it! Your own very stylish invitation. Yay!