How to make - Personalised Invitations with Vellum Wrap
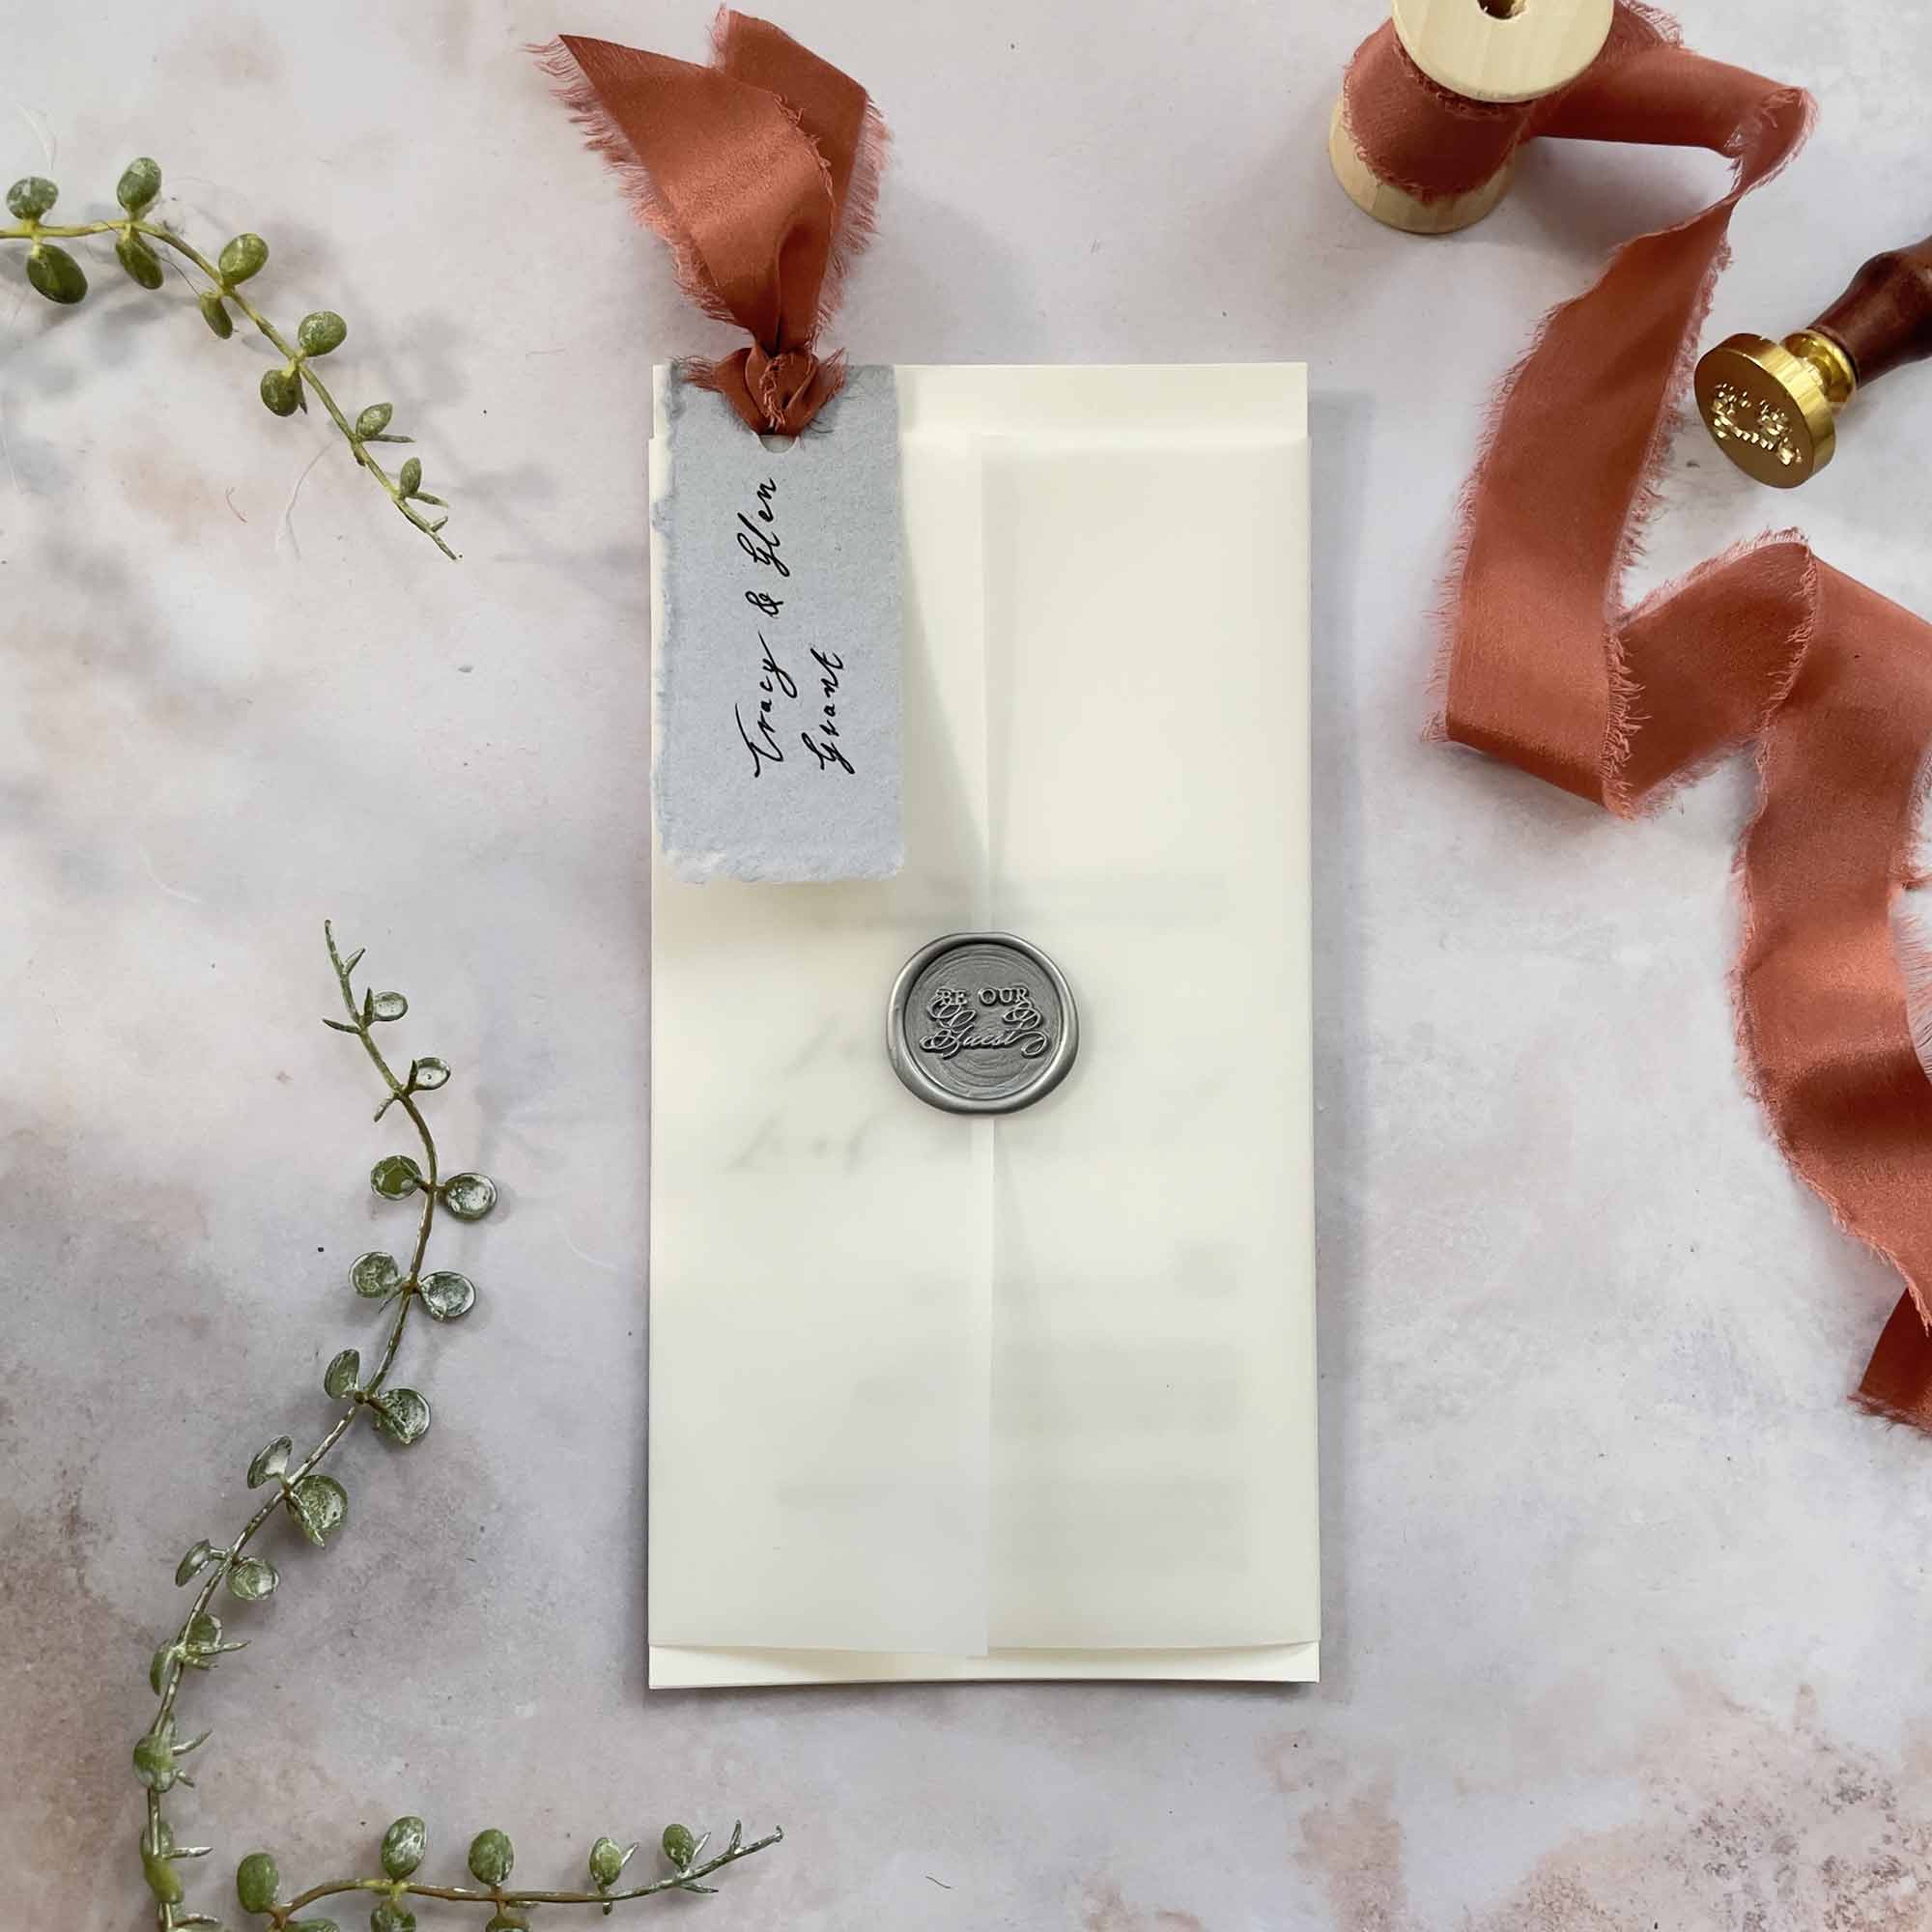
This beautiful invitation was designed for a good friends wedding. She wanted something elegant with silver and rose gold accents. The venue was stunning so it had to be something that would fit the day and set the scene. When I finished working on this invitation, I knew it would be the one. And it was!
The chic design is easy to personalise. Try changing the ribbon, wax, handmade paper or card colour. You could add a patterned vellum. Or choose an alternative wax stamp. If you want to reduce the cost of these invitations, simply replace the silk ribbon for satin instead.
Here's how we made these invitations:
YOU WILL NEED:
- 1 1/2 sheet of Matt off White A4 card. (click here)
- 1/3 sheet of Light Grey Handmade Paper. (click here)
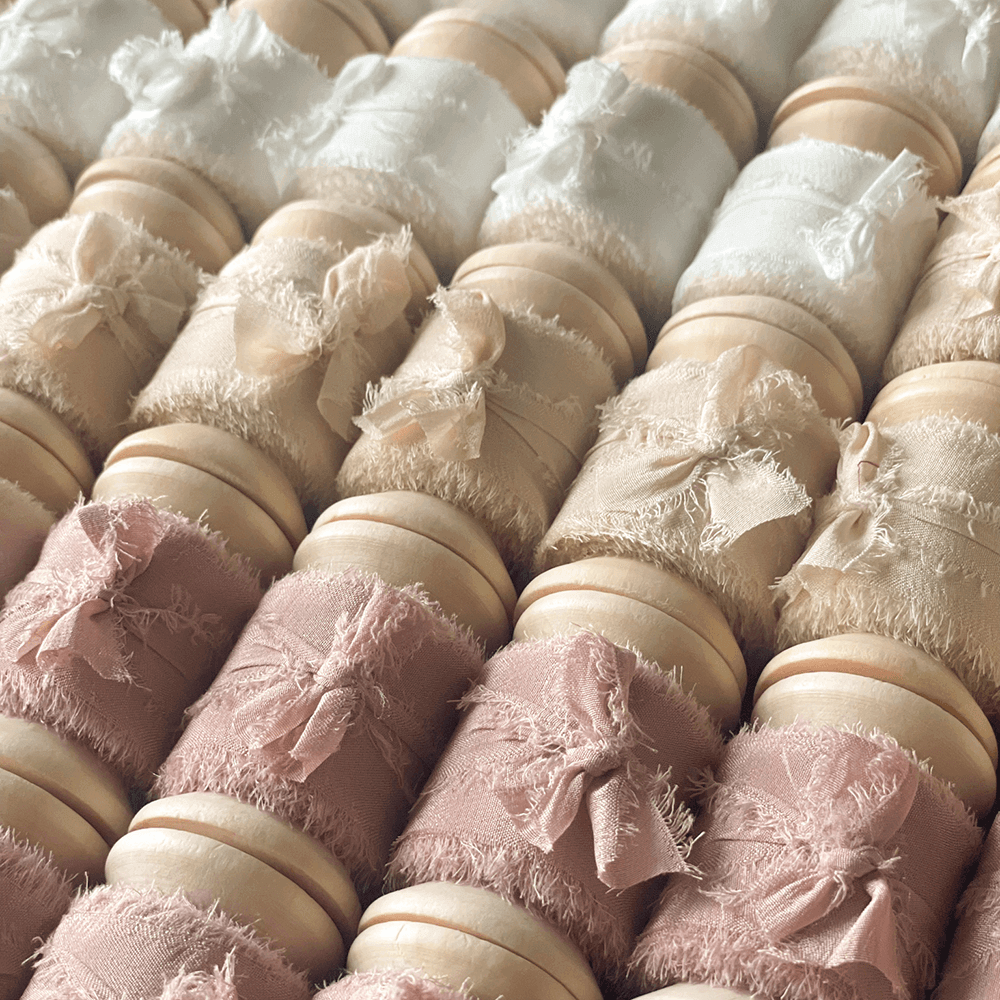
- 20cm of 25mm Silk Ribbon in Rust. (click here)
- 1 sheet of clear vellum paper. (click here)
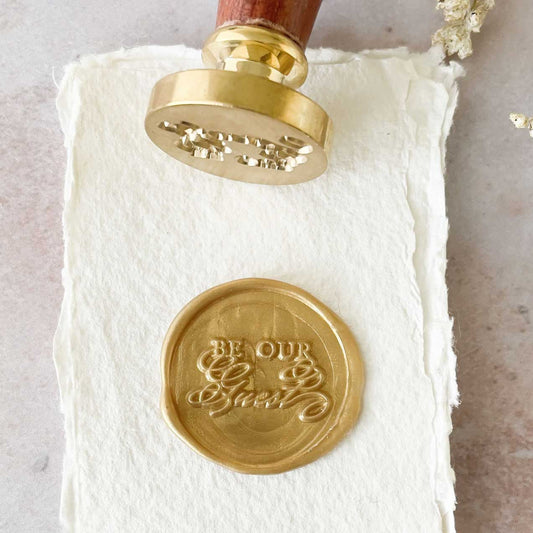
- Sealing Wax in Silver. (click here)
You will also need ...
- Wax seal gun. (click here)
- Finger Lift Double Sided Tape. (click here)
- Sharp Scissors
- A hole Punch
- A Paper Trimmer
Fonts used:
- Melika Letter
- Avenir Script

HERE'S HOW IT'S DONE:
To make these beautiful invitations, watch the video and follow the steps below: -
Here are the instructions:
- Cut your A4 card 10.5cm wide x 21cm high. You should be able to cut 2 panels from each sheet of card. You will need 1 piece to print the invitation, 1 piece to back the invitation and 1 piece for the guest information if you also wanted to include that.
- Print your wording onto one of the pieces of card. When you're designing the wording for the invitation, make sure you set your wording to the right hand side about 1/3 of the way down the card. This will make sure the tag does not obscure the invitation wording.
- If you are including a guest information sheet, print this onto one of the card panels.
- Take a piece of card exactly the same size as the invitation. Use double sided tape to stick the card panel onto the back of the invitation. This will add more weight to the invitation and make it feel more luxurious.

- Print your guest names onto a sheet of handmade paper. Make sure the names are set to the left of the sheet. Use a ruler as a guide and tear the names down to size so that you have an even space at the top and bottom. Line your name tag up at the top of the invitation. Once you’re happy with where it's sitting, use a scissors to trim the top of the handmade paper so that the edge is flat. Make sure you leave enough space to punch a hole.
- Holding the printed name in place, use a hole punch to punch through the invitation and name tag.
- Cut a piece of silk ribbon appx. 20cm long. Fold it in half and push the centre fold through the hole from the back to the front. Open up the loop of the ribbon and pull the loose ends through. Pull tight and tease the ribbon into place. Once your happy with how it looks, use a sharp scissors to cut the loose ends off the ribbon.
- Cut a piece of vellum paper 22cm wide x 19cm high. Lay the vellum on a flat surface and place your guest information and invitation on top, making sure its in the centre of the vellum with the bottom edges lining up. (you should have some of the invitation showing at the top of the vellum).
- Fold both sides of the vellum in towards the centre of the invitation, making sure to tightly fold down the creases. The vellum should form a wrap around the invitation.
- Holding the vellum flat, place some wax in the centre of the vellum (where the 2 sides meet). Press your wax stamp into the wax and leave in place until the wax dries. Make sure your stamp is facing the right direction when you press it into the wax. Once the wax is dry, you can remove the stamp easily.
- Reposition your invitation inside the wrap so that the tag sits over the top of the vellum.
TIP - You will know when your wax seal is ready as the stamp should lift off without much resistance.