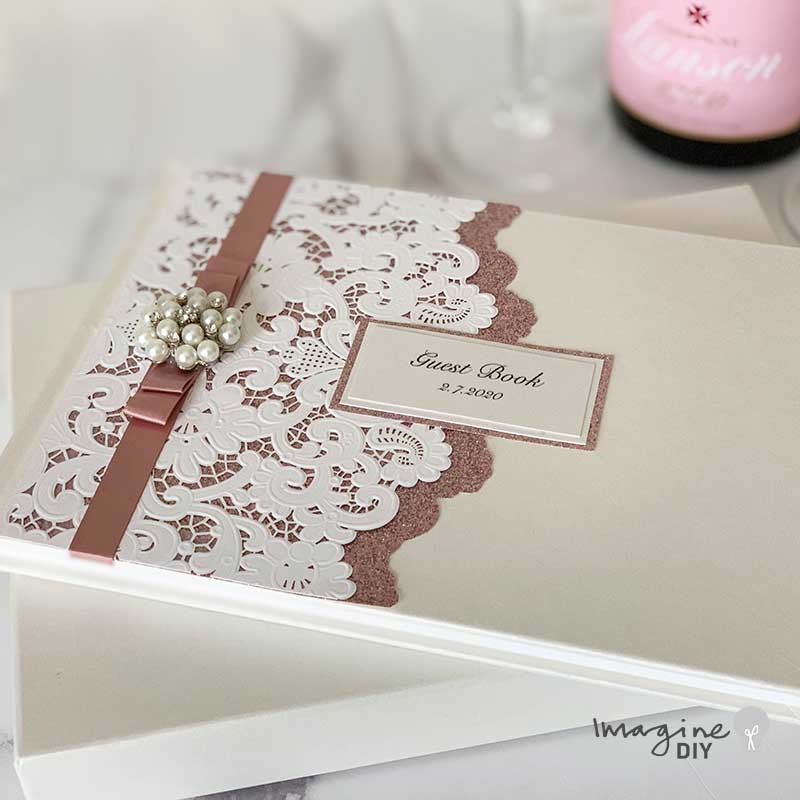
Make Your Own Luxury Guest Book
Guest books add a really personal touch to your big day. They're also a great keepsake, helping you to remember special moments or capture the sentiments of your friends and family for years to come.
You can buy beautiful guest books 'off the shelf' but we've got a better option for you. Why not make your own? It's a great way of making a special keepsake even more special.
We've designed this gorgeous guest book as as idea for you to copy. But why not let your imagination go wild and make something completely personal to you. It so easy, it would be a shame to settle for an off the shelf alternative.
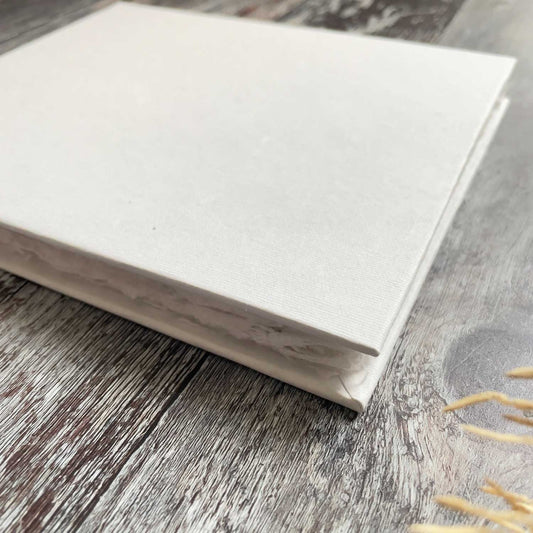
PLEASE NOTE - we no longer stock the guest book featured in the image. Instead, we've listed our beautiful handmade paper guest book in the list of items needed.
To make this Guest Book, you will need:
- 1 x Blank Guest Book (click here)
- 1 x Nude glitter paper (click here)
- 1 x Parisienne Laser Cut Panel (click here)
- 1 x Pearlised Ivory Card (click here)
- 1 x Dusky Pink Dior Bow (click here)
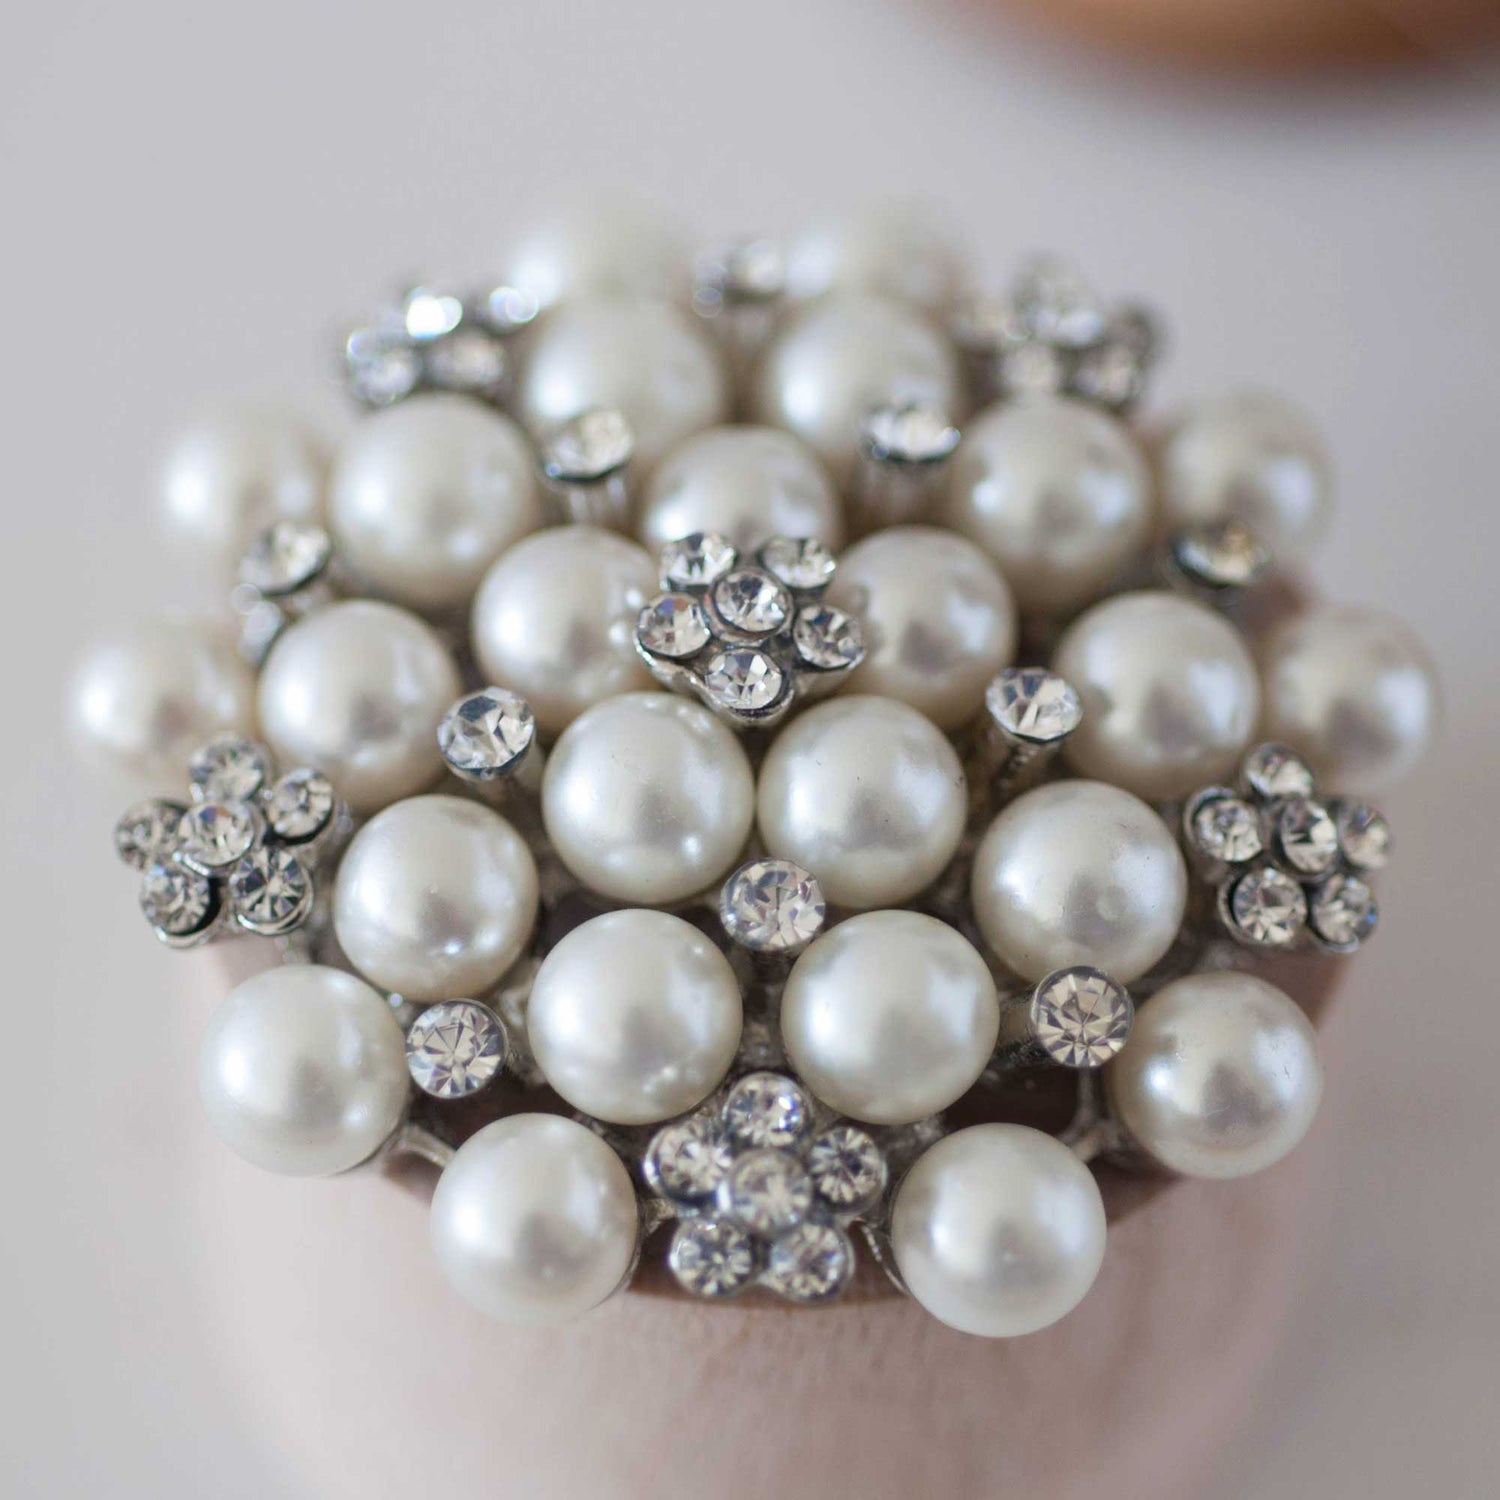
- 1 x Boston Pearl Medium (click here)
Also.....
- High Tack Double Sided Tape (click here)
- Hot Melt Glue Gun (click here)
- Paper Trimmer
- Sharp Scissors
- A Pencil
If you’re not big on reading instructions, we’ve put together a quick video to show you how it’s done (just press play)……
So Here Are The Instructions……


Instructions
- Plug your glue gun in to warm it up.
- Cut a piece of glitter paper 17.2cm wide (and at least 16cm long)
- Trim a few mm of each side of the Parisienne Laser Cut Panel so that measures 17.2cm wide.
- Place glitter paper face down on a hard surface. Put your laser cut panel on top so that the 3 flat sides sit flush against the 3 sides of one end of the glitter paper. Move your panel along the paper by about 1cm. Take a pencil and draw around the outline of the laser cut panel.
- Take a sharp scissors and cut around the outline you have just drawn.
- Use your high tack double sided tape to stick the glitter paper in to place on the from left of the blank guest book. You will need to place tape around the outside edges and across the middle. Press in to place next to the crease, making sure that the edges run parallel to the edges of your guest book.
- Place a line of high tack tape around each of the flat sides of the laser cut panel. Press this in to place on top of the glitter paper.
- Run a line of glue from the glue gun along the back of the dior bow. Press the Dior bow in to place in the middle of the laser cut panel, appx. 2cm in from the left.
- Run line of glue from the glue gun around the outside edge of the Boston Pearl embellishment and press in to place in the centre of the dior bow.
- Print your wording on to the pearlised ivory A4 card. There is no need to be too precise about this because you'll be trimming it down to size. Choose a font you like, choose your wording and then print on to an A4 sheet. Cut around the wording so that you get a neat rectangle.
- Measure your printed panel and cut a second piece of pearlised ivory card appx. 0.5cm longer and wider. Stick the printed panel on top using your high tack tape.
- Cut a piece of nude glitter paper appx, 0.5cm longer and wider than your card panel and use the high tack tape to stick the layers together.
- Place high tack tape across the completed panel and place it in the centre of your guest book.
And you've finished! You should feel really proud of yourself!