Make your own Invitation Belly Band
Despite the rather unattractive name, Belly bands are a great way to add a chic finishing touch to your wedding invitations. They can be used to decorate a beautiful laser cut or pocket invitation, or even to jazz up a very simple design.
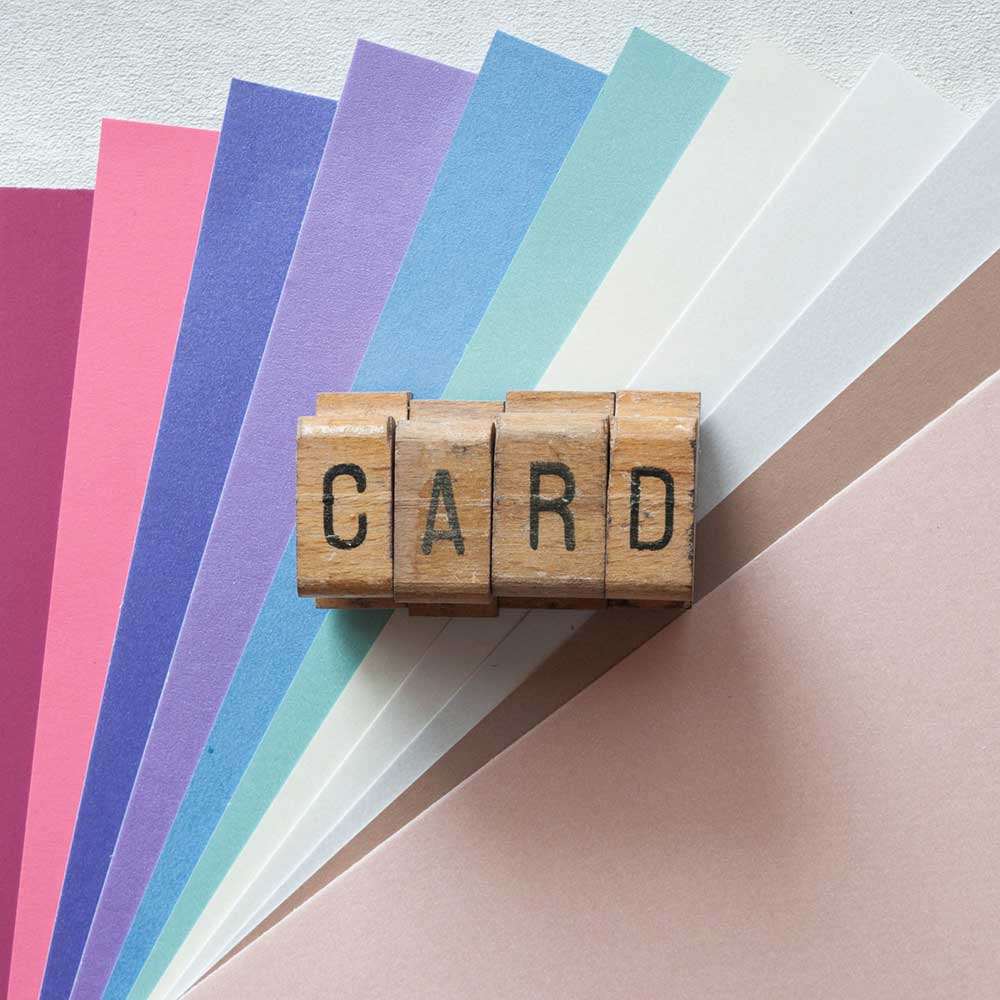
There are a few great things about Belly bands.......
1 - They help to keep all your additional information together (e.g. RSVP cards or guest information sheets)
2 - They are really versatile (you can print whatever you want onto the front tag and use a host of different colours and prints as the backing)
3 - Despite their fabulous appearance, they are a really low cost way of decorating your invitations.
So with this in mind, we thought it would be great to put together a blog post showing you how you can make these at home. For maximum impact, we've used Sequin Glitter paper and combined it with a laser cut (full tutorial for the invitation is available here). However, you can choose a card and finish that best represents the feel of your invitation.
For this Belly Band, we've used the following items:
1/4 sheet of Champagne Sequin Glitter Paper (click here)
1/12 sheet of Pearlised White Card (click here)
plus
High Tack Double Sided Tape (click here)
Paper Trimmer
If you’re not big on reading instructions, we’ve put together a quick video to show you how it’s done (just press play)……
So Here Are The Instructions……

Instructions
- Use your paper trimmer to cut a length of Glitter Paper 2.5cm wide. (Make sure you are trimming the longest side). The easiest way to do this is to measure backwards. So if your paper is 21cm wide, your first cut should be at 18.5cm; the second trim should be at 16cm etc. (You should be able to cut 4 lengths and have enough paper left over for your border).
- With your left over glitter card cut a panel measuring 6cm x 6cm. (You should be able to cut 4 panels out of the left over card)
- Print your front tag/s on to A4 card. If you lay it out carefully, you should be able to print 12 tags on to each A4 sheet of card. Use your paper trimmer to cut each tag down to 5cm x 5cm.
- If you are not confident in putting together your own layouts, we've pre-designed a template for you. All you have to do is type your details in the spaces provided, print and cut down to size. DOWNLOAD HERE
- Use your high tack double sided tape to stick the printed front tag on to the square glitter paper panel.
- Place the long strip of Glitter card pattern side down on a flat surface. Put your invitation on top, positioning it in the middle of the strip. Fold each end in towards the front of the invitation.
- Peel off 2 small strips of high tack tape and place them on the back of the front tag, appx half way down on opposite sides. Fold over any excess tape.
- Holding the both ends of the long strip flat against the invitation, position your front tag and press it firmly in to place. (You can see in the video that I forgot to do this initially and the tag didn't hold). Once you press the tag in to place, it will hold nicely and you'll have a great belly band to decorate your invitation. Why not give it a go yourself?
TIP - If you are using and inkjet printer, replace the pearlised card for a matt card to get a better print result