
How to Make...Eye Catching Floral Wedding Stationery
MAKE THIS GORGEOUS RANGE WITH OUR STEP BY STEP GUIDE
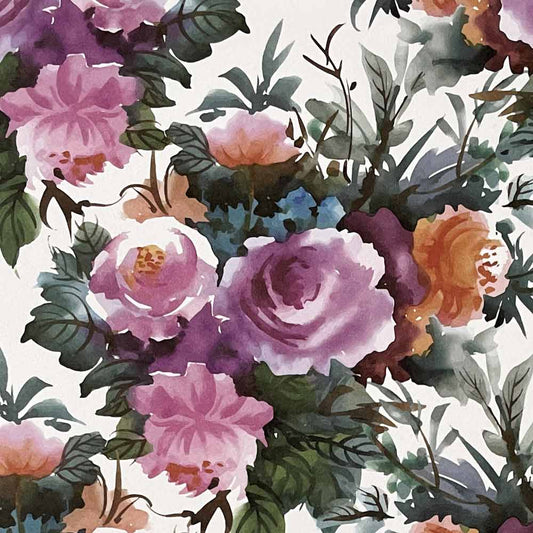
Our new Alyssa Paper is so vibrant and eye-catching, we couldn't wait to put it to the test. We wanted to show you how you can make this gorgeous eye catching floral wedding stationery yourself. It didn't take us long to design and make this simple but really effective range and we're sure it won't take you very long to replicate it.
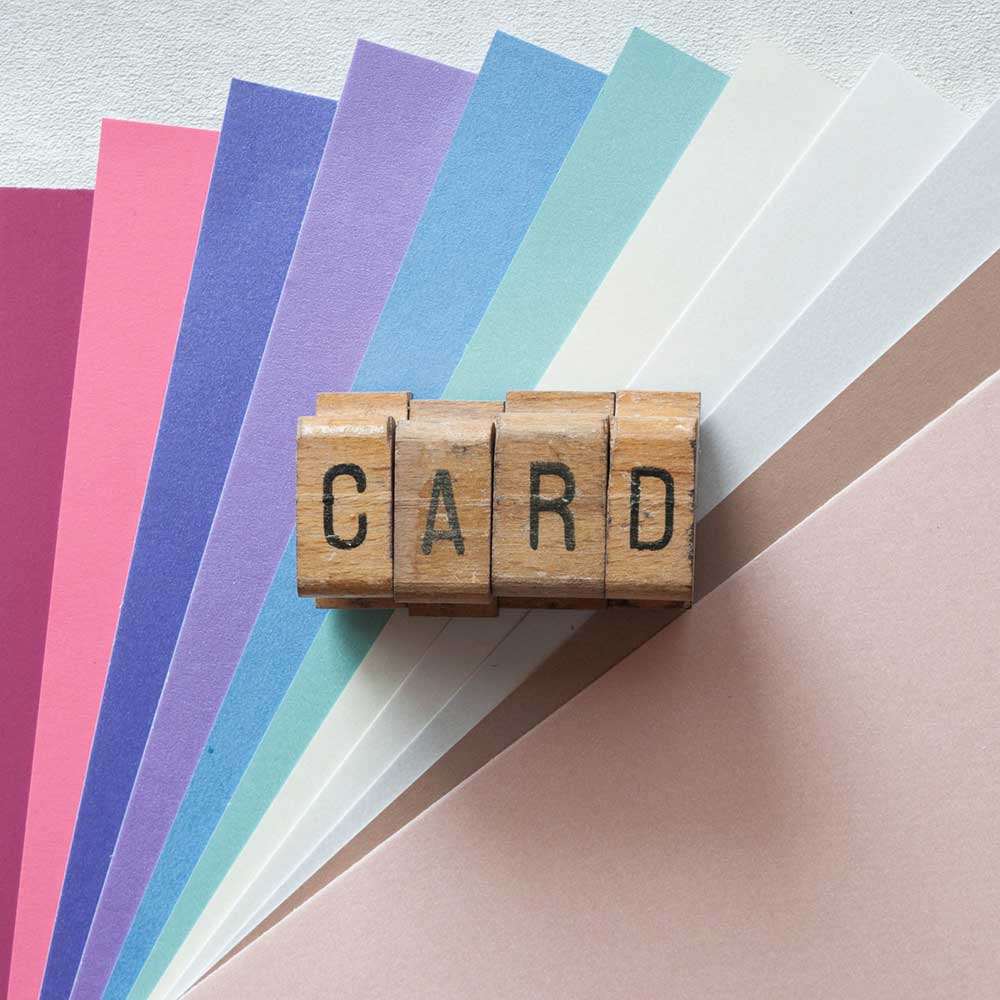
Personally, I LOVE the overall look and feel of this range but I get that these colours may not be your thing. So if you love the design but the colours don't work for you, it's not a problem....just change the backing paper and away you go.

HERE’S HOW WE MADE THIS RANGE:

FLAT INVITATION INVITATION
You Will Need:
1/2 sheet of Alyssa Paper (click here)
1/3 sheet A4 card in Plum (click here)
1/3 sheet of Matt off white card (click here)
appx. 1.5 meters of orange hemp or jute string
Other Things You Might Need:
Paper Trimmer
Tape Runner or double sided tape (click here)
Scissors
Instructions:
- Cut a piece of Matt Off White Card 13cm x 18cm.
- Cut a piece of Plum Card 13cm x 18cm. Use your tape runner or double sided tape to stick this on to your Matt off White Card. (This will make the card more sturdy)
- Cut a second piece of plum card 13cm wide x 7.5cm high. Stick this across the middle of your card.
- Print your wording on to Matt off white card and cut down to size. The finished size should be 6.5cm high x 13cm wide (we used the fonts Parisienne mixed with Mrs Eaves Petit Caps). Stick the printed panel on top of the plum card making sure that the top and bottom borders are even. Your invitation is now finished. You just need to add a bow!
- Cut a piece of cord appx. 1.5 meters long. Fold it in half. Place the folded cord on to a flat surface and place your invitation in the middle. Wrap both ends of the cord around to the front of the card and tie a bow in the middle (just like you'd tie your shoe lace!).
- Cut off any loose ends. It's as easy as that!!!
RSVP
Here’s what you need:
1/8 sheet of Alyssa Paper (click here)
1/4 sheet A4 card in Pale blue (click here)
1/6 sheet of Matt off white card (click here)
Other Things You Might Need:
Paper Trimmer
Tape Runner or double sided tape (click here)
Instructions:
- Print your wording on to Matt off white card and cut down to size. The finished size should be 5.5cm high x 8cm wide
- Cut a piece of Pale Blue Card 9cm x 11.5cm.
- Cut a piece of Alyssa Paper 8.5cm x 11cm. Use your tape runner or double sided tape to stick the patterned paper on to the Pale Blue Card.
- Cut a piece of Pale Blue Card 6cm x 8.5cm. Stick this on to the Alyssa Paper (making sure your borders are even)
- Stick your printed panel on top the Pale Blue Card.

SAVE THE DATE CARD
Here’s What You Need:
1/4 sheet of Alyssa Paper (click here)
1/3 sheet A4 card in Pale blue (click here)
1/3 sheet of Matt off white card (click here)
appx. 1 meter of orange hemp or jute string
Other Things You Might Need:
Paper Trimmer
Tape Runner or double sided tape (click here)
Hole punch
Instructions:
- Cut a piece of Matt off white card 10cm x 14cm.
- Cut a piece of Pale Blue Card 10cm x 14cm and stick on top of the Matt off white card (this will make your card really sturdy). This will be the back panel of your card.
- Cut a piece of Alyssa Paper 9.5cm x 13.5cm. Stick this on top of the Pale Blue Card.
- Print your Save The Date wording on to Matt Off White Card and cut to size. The finished size should be 5.5cm wide x 9.5cm high. Make sure you leave a gap at the top so that you can punch a hole.
- Cut a piece of Pale Blue Card 6cm a 10cm. Stick your printed panel on top. This will be the Save The Date Panel.
- Use your hole punch to punch a hole in the top centre of the Back Panel. The hole should be about 1cm from the top.
- Use your hole punch to punch a hole in the top centre of your Save The Date Panel. The hole should be about 1cm from the top.
- Take a piece of cord appx 1m long. Fold it in half. Take the save the date panel and push the loop of the string through the hole from the back to the front. Pull the loop through far enough for you to push the loose ends of the cord through. Once you have done this, pull it so that the loop tightens and holds the string in place.
- Fold the loose ends of the cord in half (to form another loop). Push the loop through the hold in the back panel from the front to the back of the card. Pull the loop until you are happy with the position of the Save the date panel and you also have enough of a loop to thread the loose ends of cord through. Once you are happy with the position, push the loose ends of cord through the loop (the loose ends should start at the front of the card and end up at the back).
- Pull the loop tight enough to hold the loose ends in place.
- Use the loose ends to tie a neat bow (make sure it is nice and tight).
- Cut off any excess string.

ORDER OF SERVICE
Here’s What You Need:
1/2 sheet of Alyssa Paper (click here)
1 1/8 sheet A4 card in Pale blue (click here)
A4 Paper in matt off white (as many sheets as needed) (click here)
1/8 sheet of Matt off white card (click here)
appx. 50cm meter of orange hemp or jute string
Other Things You Might Need:
Paper Trimmer
Scorer
Tape Runner or double sided tape (click here)
Hot melt glue gun (click here)
Long arm stapler
Instructions:
- Cut your Pale Blue Card to 21cm x 29cm. Score and fold in half (the score line should be 14.5cm). You will need to use the cutting blade to cut the card and the scoring blade to score it.
- Cut a piece of Alyssa Paper 20.5cm x 14cm. Use your tape runner or double sided tape to stick this on to the front of your folded card.
- Print your wording on to Matt off white Card and cut to size. The finished size should be appx. 8.5cm wide x 4cm high.
- Cut a piece of Pale Blue Card appx. 9cm x 4.5cm. Stick this to the bottom centre of your card, making sure the borders are even at each side and along the bottom.
- Stick your printed wording on top of the pale blue card panel.
- Cut a piece of Cord Appx. 50cm long. Fold in half and holding both sides together, tie a neat, tight bow. Use your glue gun to stick this in to place at the top left of the Order of service panel. You will only need to use a small amount of glue on the knot of the bow.
- Print your order of service wording on to A4 paper and cut to size. The finished size should be 20cm x 28cm. Fold in half and use a long arm stapler to secure the wording to the inside of the cover. Do this carefully to make sure that the staples sit along the crease.

NAME TAGS
Here’s What You Need:
1/10 sheet of Alyssa Paper (click here)
1/10 sheet A4 card in Plum (click here)
1/20 sheet of matt off white paper (click here)
appx. 50cm of orange hemp or jute string
Other Things You Might Need:
Paper Trimmer
Hole Punch
Scissors
Instructions:
Before you start your name tags, it’s useful to make 2 templates.1 – Cut a piece of paper 6cm x 8cm. Fold in half lengthways and with the paper folded, use a scissors to cut off the top corner (2cm from the top). When you open the paper, it should leave you with a tag shape. You can use this as a template for your tags.
2 – Cut a piece of paper 5.5cm x 7.5cm. Fold in half lengthways and with the paper folded, use a scissors to cut off the top corner (2cm from the top). When you open the paper, it should leave you with a tag shape that is ever so slightly smaller than the one you just made.
- Cut a piece of Plum Card 6cm x 8cm. Hold the larger paper template against it and cut off the top edges of card to match the template.
- Cut a piece of Alyssa Paper 5.5cm x 7.5cm. Hold the smaller paper template against it and cut off the top edges of paper to match the template. Stick the patterned paper on top of the Plum Card.
- Print your names on to a sheet of Matt Off white Paper and cut down to size. You should be able to print at least 20 names on to each sheet if you print in 2 columns. Make sure you leave a large gap above and below each name. The finished size when cut should be appx. 4cm x 1.5cm
- Cut a piece of Plum Card appx. 4.5cm x 1.5cm. Stick this on to the front of your tag, making sure that all the flat edges have an equal border (see image). Stick your printed name on top of the plum card panel.
- Use your hole punch (or crop a dile) to punch a hole at the top of the tag (about 1cm from the top).
- Cut a piece of cord appx. 50cm long. Fold in half and push through the hole from the back to the front. Push the loose ends of the cord through the hole and pull tight.
- Cut off any loose ends.

THANK YOU CARD
Here’s what you need:
1/4 sheet of Alyssa Paper (click here)
1/2 sheet A4 card in Plum (click here)
Other Things You Might Need:
Paper Trimmer
Scorer
Tape Runner or double sided tape (click here)
Scissors
Instructions:
- Cut a piece of Matt off Plum Card 10.5cm x 21cm. Score and fold in half.
- Cut a piece of Alyssa paper 10cm x 10cm. Use double sided tape to stick this to the front of your folded card.
I hope you love this design. It really is very easy so well worth trying out yourself. If you give it a go and love the results, please let us know. We love to see what you make.
