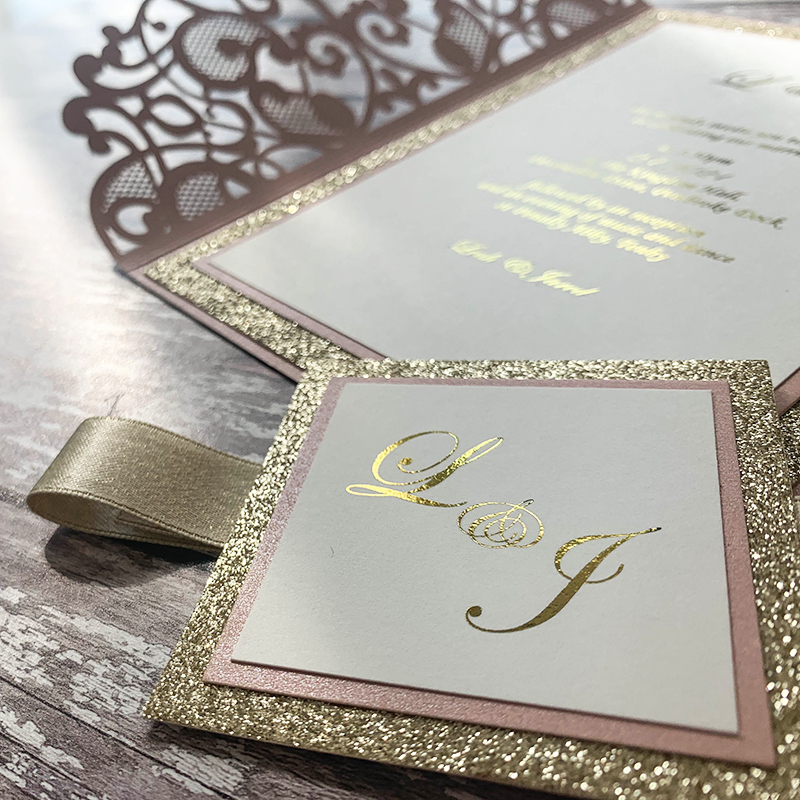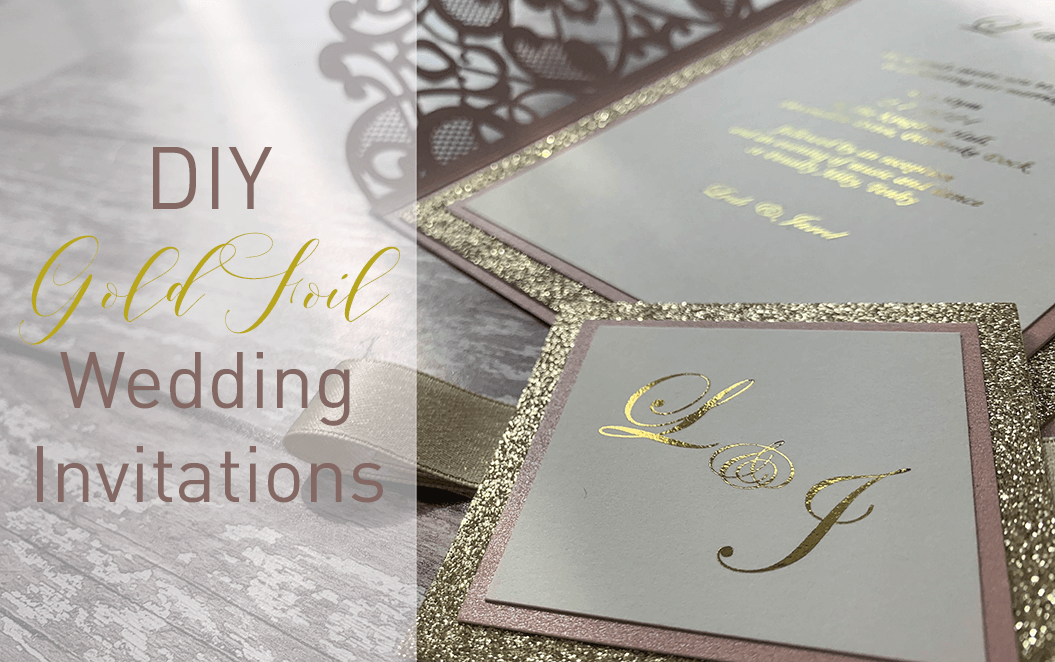
How to DIY Gold Foil Wedding Invitations
I have to admit that I LOVE foiled invitations. Adding foil elevates a design from beautiful to luxe and expensive looking. Historically, it has only been possible to add metallic foil with the use of expensive machinery. And commissioning a specialist printer to do the work for you would set you back a pretty penny.
But I've got some good news for you!!! You don't need to break the bank to achieve this ultra chic finish at home.
I'm going to show you just how easy it is to create foiled invitations using:
1 - A CHEAP LAMINATOR
This is one I purchased for around £12.00 at Wilco's. You don't need an expensive machine. Any laminator should do the job.

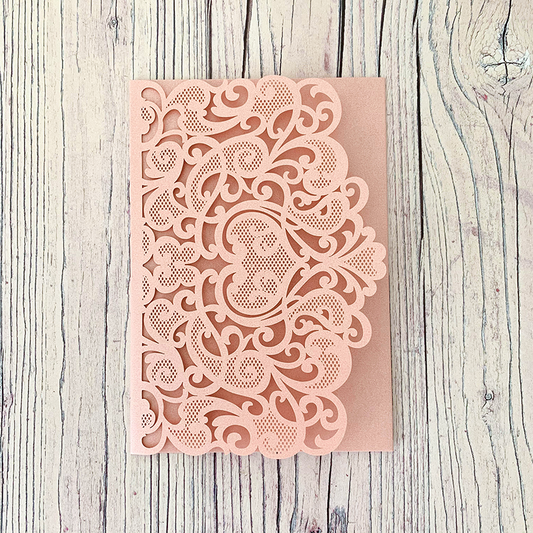
I purchased mine from Ebay. You can also find it on Amazon or other online retailers. It's available in a variety of colours.

3 - WORDING OR IMAGE
The wording or image must be printed in BLACK INK using a LASER PRINTER
(please note that a laser jet or ink jet is not suitable for this technique)

4 - A SCISSORS
Because the foil blunts the scissors edges, I recommend using an older scissors for this......don't use your favourite dressmaking scissors!!!
If you're not big on reading instructions, here's an easy to follow video tutorial that will help you on your way........

1 - Print your wording or image onto Card or paper and cut down to size.
Make sure you print in BLACK with a LASER PRINTER.
2 - Turn on your laminator and allow it to warm up. It should be set at appx. 110.
3 - Cut a section of toner reactive foil large enough to cover the text. Hold the gold foil against the printed panel and feed it into the laminator until the rollers grab hold of it and start to feed it through.
* If you need to foil a very small panel, please see the notes below.
4 - Once your wording has fed through, peel the toner reactive foil away from the text and watch the magic!!! The toner reactive foil will stick firmly onto the black in to create a beautiful metallic finish!
- FOILING SMALLER ITEMS
Smaller items often get stuck in the rollers. So to prevent this from happening, create a shim. You will need to cut a section of baking paper, or vellum that is larger than the panel. Fold it in half and place the panel and foil in the middle to create a sandwich effect (So you should have the baking paper, or greaseproof paper at the top and bottom, with the panel and gold foil sitting in the middle.)
This will give the extra length and support you need to feed smaller items through the laminator. - IF YOUR FOIL ISN'T STICKING PROPERLY
If you find that your foil isn't sticking to the text properly, check the following:
1 - Have you used a laser printer?
2 - Did you print with black text?
3 - Adjust the temperature of the laminator. It might be slightly too hot or slightly too cold for the foil you are using.
Toner reactive foil is available in a variety of colours and finishes so be adventurous with this easy to use technique.

If you'd like to learn how to make the beautiful invitations featured in this post, a full design guide, downloadable templates and youtube video will be available in our design gallery from Wednesday 18th March.