
How To Make .... Simple but Stylish Invitations with Handmade Paper and Wax Seal
Each time I work with handmade paper and wax seals, I fall in love with them a little bit more. They are so easy to work with and never fail to look beautiful.
This stripped back design literally took my breath away. It's hard to believe that such a simple design could have so much impact.
This is an easy design to customise and still get amazing results. Choose a different stamp; a different colour wax; add some twine or ribbon ...... let your imagination go wild.
Each invitation should take you about a minute to make. But allow a few extra minutes if you are a complete novice.

So here goes ...... lets see how its made.
For Each Invitation You Will Need:
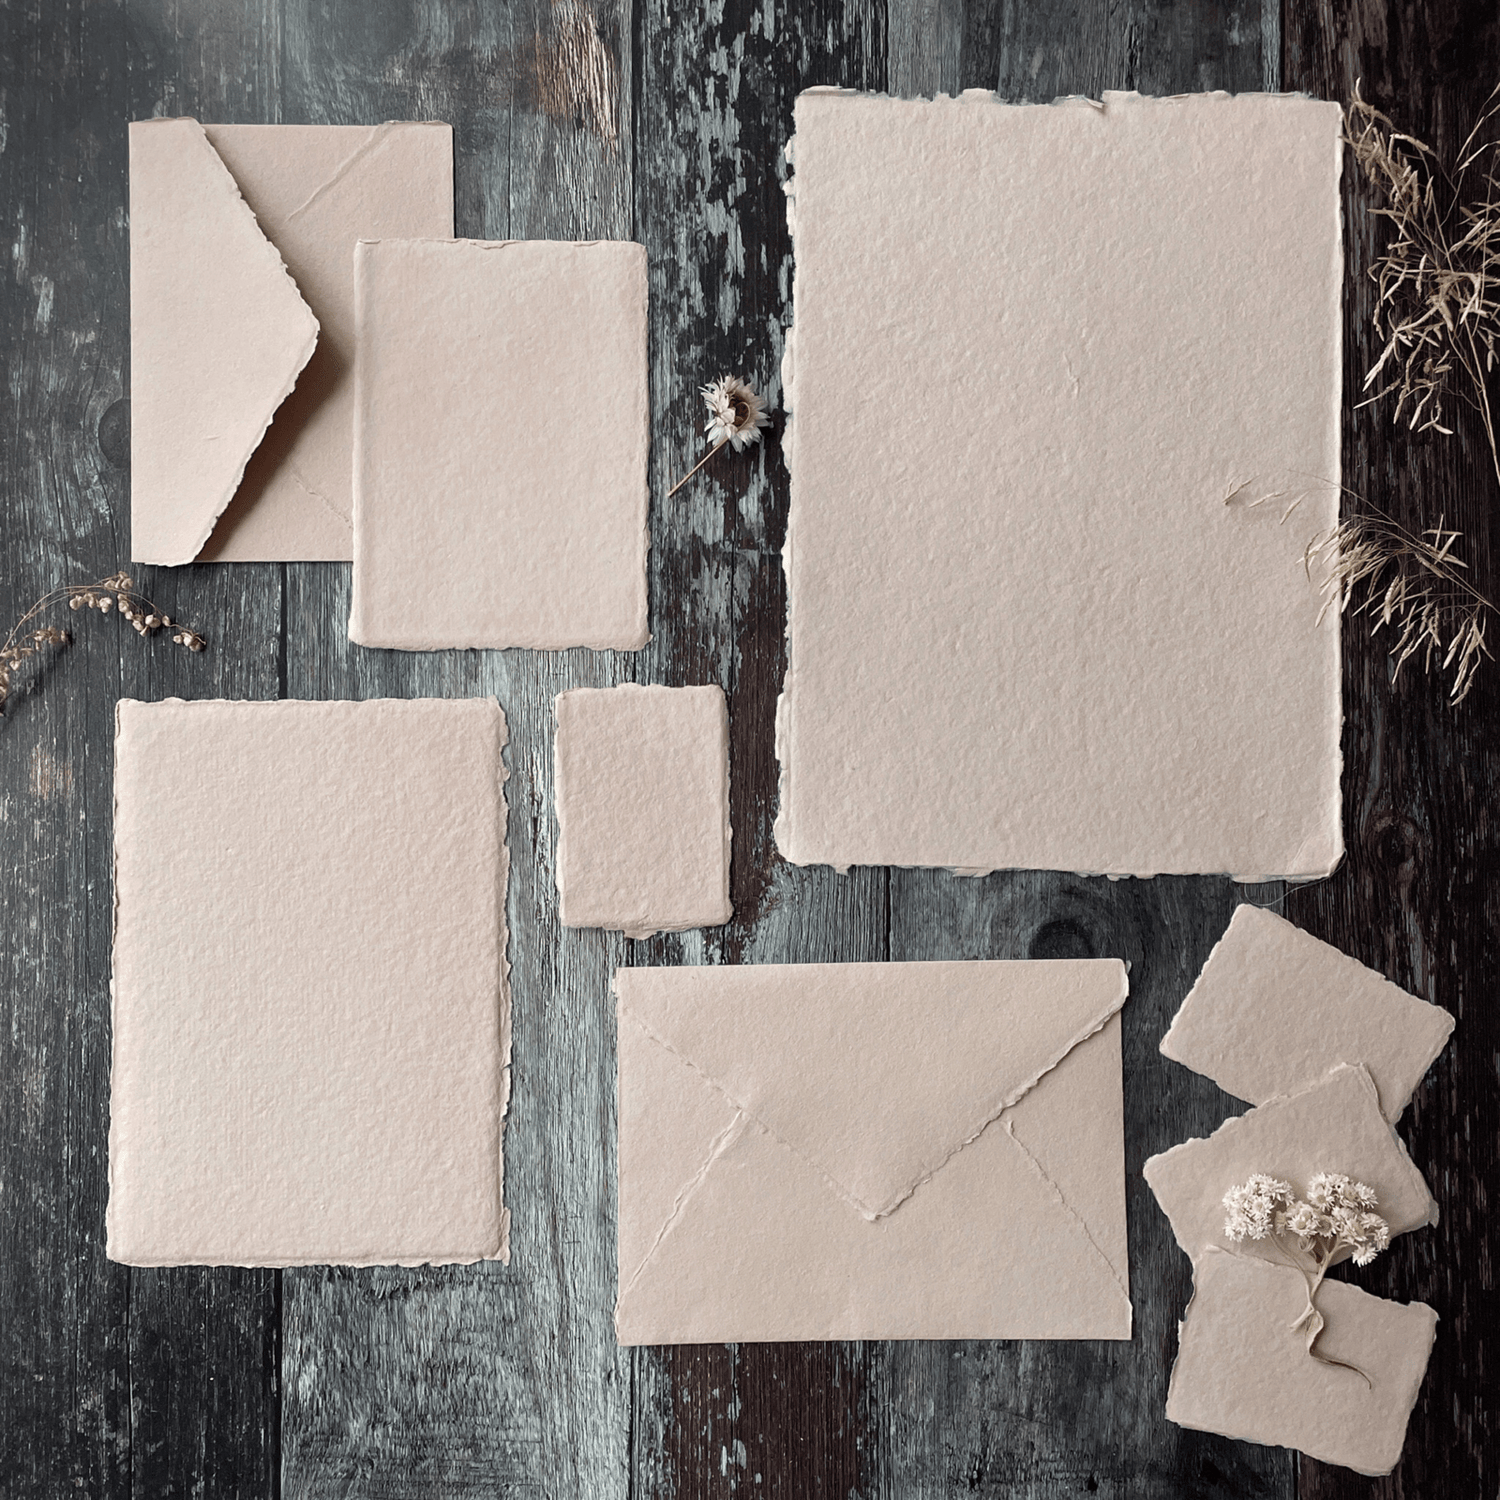
DL Handmade Card in White. (click here)
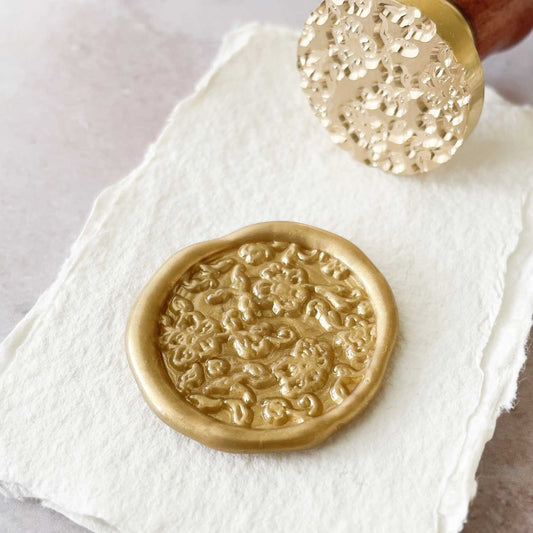
1 x Summer Garden Wax Stamp. (click here)
1 x Elephants Breath Wax Stick (1 stick will make about 10 invitations). (click here)
Also:
Wax Melting Spoon and furnace OR. (click here)
Wax Gun. (click here)
Ruler
You’ll also need to download this templates…..
The following fonts were used:
Melika Letters
Mrs Eaves Petit Caps
So Here Are The Instructions……
1 - Use the edge of a ruler to tear the square handmade card in half. You should end up with 2 sheets that measure appx. 10.5cm x 21cm. As this is handmade card, you will find that there will be a slight variance in measurements so just try to get it as even as you can. You will need to hold the ruler against the paper and tear the paper away using the ruler as a guide. You can watch this video to help you along.
2 - Type your wording into the template provided (above). Make sure you are happy with the spelling, grammar and layout before printing onto your card panels.
TIP - It's useful to run a rest print onto a scrap piece of paper before printing the whole batch. This will give you the chance to correct any layout issues that you are not happy with.
3 - Now you just need to apply your wax seal. There are 2 ways you can do this. Either directly onto the invitation OR you can pre-make the stamps and stick them into place with double sided tape.
OPTION 1 - STAMPING DIRECTLY ONTO THE INVITATION
I LOVE the look of a wax stamp made directly onto the card. Each one will be different and to a keen eye, it just has a more organic look. It's not difficult but you will need some practice to make sure you use the right amount of wax and get the wax in the right place. The downside of this method is that you may have a more wastage. There is likely to be a few invitations that you are unable to use. So if you decide on this option, you just need to order a few extra sheets of card.
To apply the wax seals directly onto your invitation, just melt the wax. Once it's melted, pour a disc of wax (about 2.5cm wide) onto the top centre of your invitation. Press your wax stamp into the centre of the hot wax. Allow the wax to cool before removing the stamp. Easy!!!
You can either use a wax furnace and spoon, OR if you're impatient like me, the wax guns are a quick and easy way of applying the wax.
OPTION 3 - PRE MAKING THE STAMPS
If you're not confident in stamping directly onto the invitation panel, I'd suggest pre making the seals and sticking them into place on the invitation using double sided tape.
To do this, you can use a non stick backing tray or greaseproof paper. Pour out a disc of melted wax (about 2.5cm wide). Press your wax stamp into place and let the wax dry before removing the stamp. You should be able to easily peel the seal off your greaseproof paper or baking tray. You can the just use double sided tape to stick the seal into place.
HERE ARE SOME VIDEO'S THAT WILL HELP WITH YOUR TECHNIQUES:
This Video will show you:
- How to make wax seals directly onto handmade paper/card (using a wax furnace and spoon)
- How to pre-make your wax seals and stick them into place.
- How to tear your handmade card effectively
This video will show you how to use a wax gun to quickly make wax seals.
