Make Your Own DIY Laser Cut Pocket Invitations
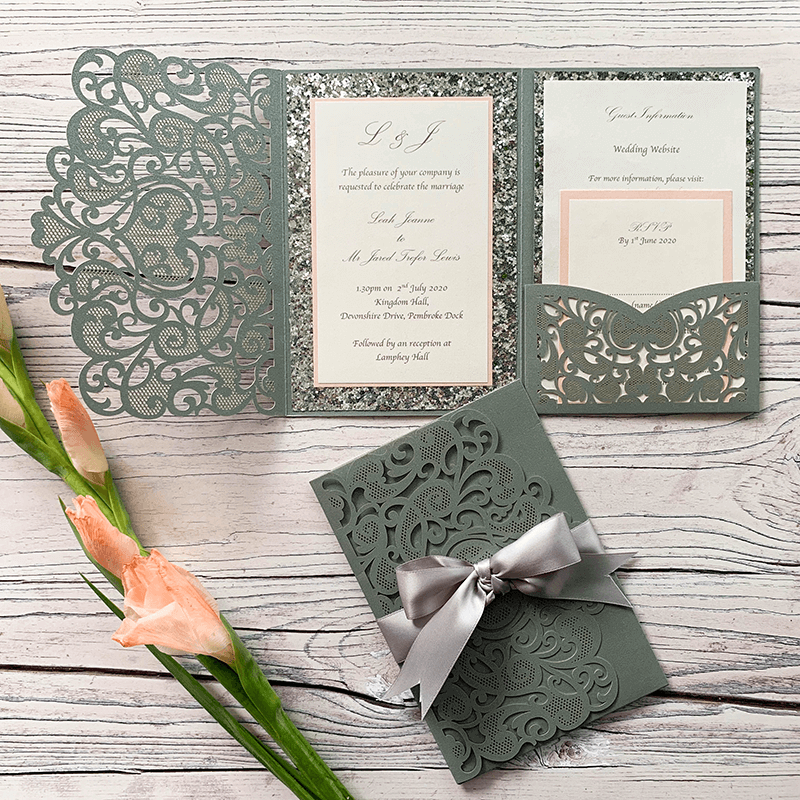
This beautiful laser cut pocket invitation is really easy to make at home. Perfect for including additional guest information and RSVP cards, this elegant invitation is sure to impress your guests. Adding a blush pink and a subtle silver glitter border gives this design a really romantic feel.
The white base of this invitation means that it can be easily customised to suite your wedding if Pink and Silver isn't your thing.
Why not give it a go?
For Each Invitation You Will Need:
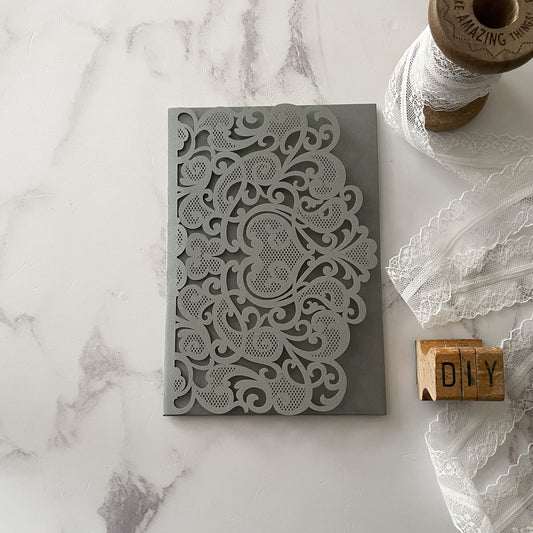
1 x Amelie Laser Cut Pocket Invitation in Grey (click here)
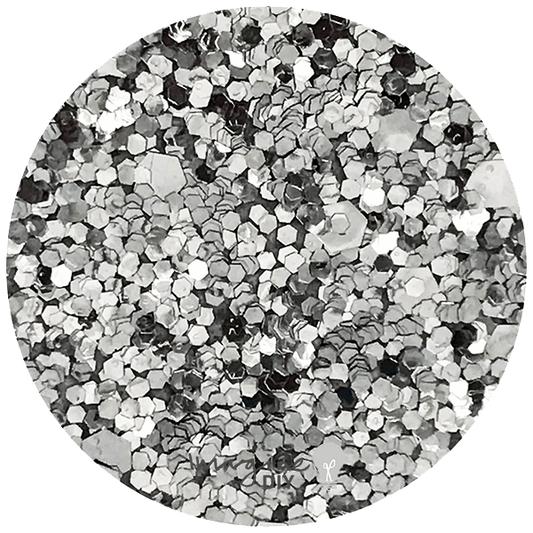
1 sheet of Silver Sequin Glitter Paper (click here)
1 sheet of Blush Pink Card (click here)
1 1/2 sheets of Pearlised White Paper (click here)
1m of 25mm Silver Ribbon (1 roll makes 10 invitations) (click here)
Also:
Paper Trimmer (you only need one of these!)
High Tack Double Sided Tape (click here)
Scissors
TIP – Change the backing card or choose a different colour laser cut to coordinate with your theme.
If you’re not big on reading instructions, we’ve put together a video to show you how it’s done. (just press play)……
You’ll also need to download this template…..
INVITATION and RSVP TEMPLATE
GUEST INFORMATION TEMPLATE
We used the following font:
Kunstler Script and Apple Chancery
So Here Are The Instructions……

Instructions
- Download the following templates:
INVITATION and RSVP TEMPLATE and
GUEST INFORMATION TEMPLATE
Type your wording in the spaces provided. Make sure you check that the spelling, grammar and layout are all correct. You will also need to check that the times, dates and locations are all included.
We used the following fonts....Kunstler Script and Apple Chancery - Print the Invitation and RSVP document onto one sheet of Pearlised White A4 paper. You will then need to use your paper trimmer to cut each item down to size. You will need to cut just inside the outlines provided on the template so that the finished document sizes are as follows:
Invitation Panel - 9cm x 14.5cm
RSVP Panel - 10.5cm x 8cm - Use your paper trimmer to cut a panel of Pearlised White A4 paper 16.5cm x 10.5cm. Print your Guest Information wording onto this panel.
- Use your Paper Trimmer to cut the Silver Sequin Glitter Paper To the following sizes:
17.5cm x 12cm (invitation panel)
17.5cm x 11.5cm (guest information panel) - Use your paper trimmer to cut the blush pink card to the following sizes:
15cm x 9.5cm (invitation panel)
11.5cm x 9cm (rsvp panel) - Use your high tack tape to stick the largest silver sequin glitter paper panel to the inside of the invitation. Stick the largest blush pink card panel on top of the silver glitter paper, making sure your borders are even.
- Finally, stick the printed invitation panel on top of the blush pink card.
- Use your high tack tape to stick the printed information sheet onto the silver glitter paper panel and slot inside the pocket.
- Use the hight tack tape to stick the printed RSVP panel onto the blush pink card panel and slot inside the pocket.
- Close your invitation.
- Cut a piece of ribbon appx. 1m long. Lay it on a flat surface. Place your invitation face up in the middle of the ribbon. Fold both ends of the ribbon towards the front of the invitation and tie a double knot at the centre. Tie a neat bow and neatly cut off the loose ends. (You can tie the bow just like you would normally tie your shoe laces).
And you're finished....don't you feel proud of yourself!!!