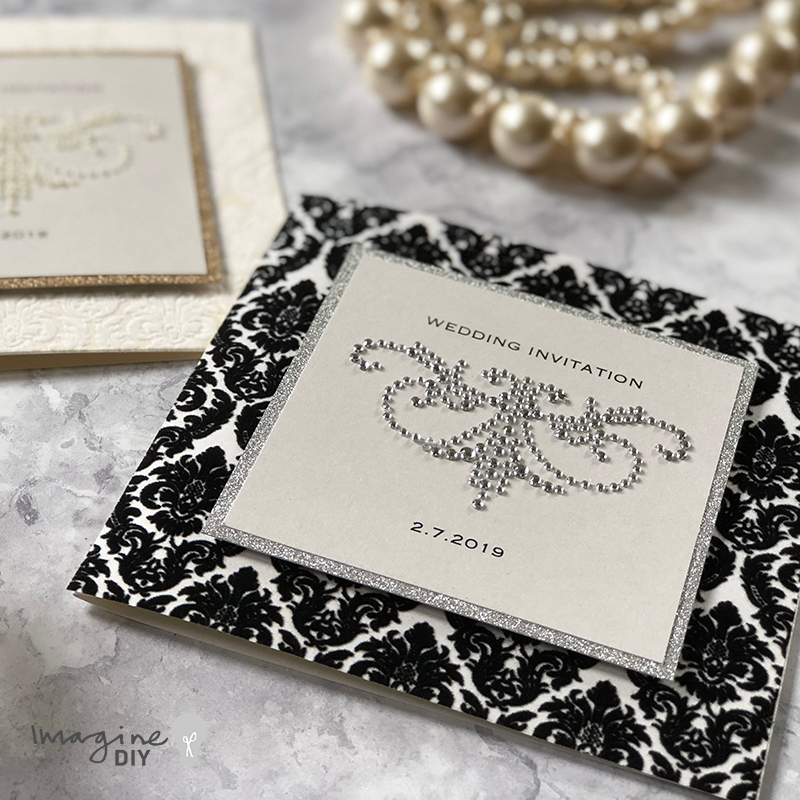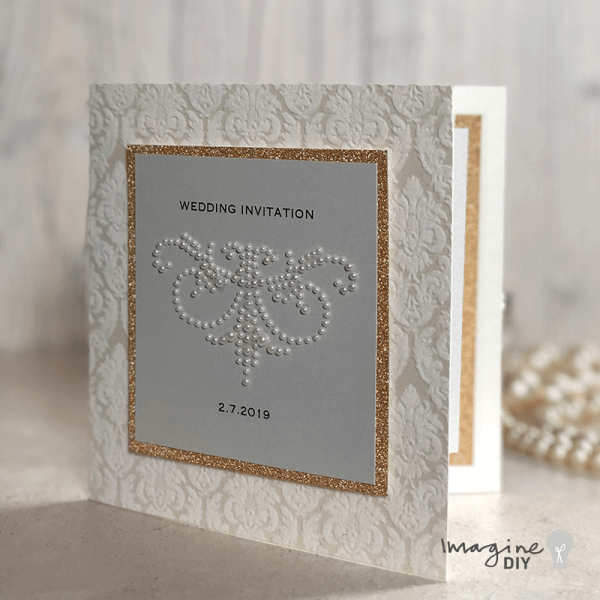
Make Glamorous DIY wedding invitations with Self Adhesive Crystals or Pearls (Ivory & Champagne
Our range of self adhesive pearls and crystals are easy to use and create a really high impact. This glamorous design oozes luxury and is easy to replicate at home. We've made it in black and white and also in ivory and champagne. But it would look amazing in any number of colour combinations. By swapping the paper and card colours, you can completely change the look of this design. So let your imagination go wild and see how amazing you can make this design work for your special day.
If you're not big on reading instructions, we've put together a quick video to show you how it's done (just press play)……
You'll also need to download this template.....
Coronet Self Adhesive TemplateSo Here Are The Instructions……

Instructions (product details for each colour show below)
- Download the Coronet Self Adhesive Template Type your wording in to the printable area.
- Print your wording on to a sheet of card. Use your paper trimmer to cut the front panel and invitation panel to the right size by cutting just inside the guides provided.
- Cut your paper and card to the following sizes:
Flocked Paper - 14.5cm x 14.5cm
Front Glitter Panel - 10.5cm x 10.5cm
Large card panel (for inside) - 13cm x 13cm
Glitter Card Panel (for inside) 12.5cm x 12.5cm - Use your paper trimmer to cut a piece of Pearlised Card 14.5cm x 29cm. Score and fold in half
- Stick the Flocked Paper carefully to the front of your card using the tape runner.
- Use your tape runner to stick the printed front panel on top of the glitter card panel.
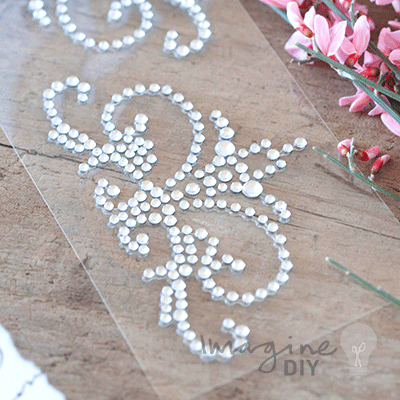
- Peel off one of your Coronet Self Adhesive Stickers and carefully stick it in place at the centre of the panel.
- Use mini mounting pads or foam pads to stick the front panel in to place on the front of the card. You will need about 9 mini mounting pads distributed evenly around the panel. (If you don't have foam pads, high tack tape will work fine)
FOR THE INSIDE PANEL: - Use your tape runner to stick the largest card panel to the inside of your card
- Stick your glitter card on top of the larger card panel.
- Stick your printed invitation panel on top of your glitter card.
TIPS
1 - If you are printing on to pearlised card, you will need to use a laser printer. If you are using an inkjet, we recommend swapping the pearlised card for matt card)
IVORY AND CHAMPAGNE

You Will Need:
2 1/2 sheets of Pearlised Ivory A4 Card (click here)
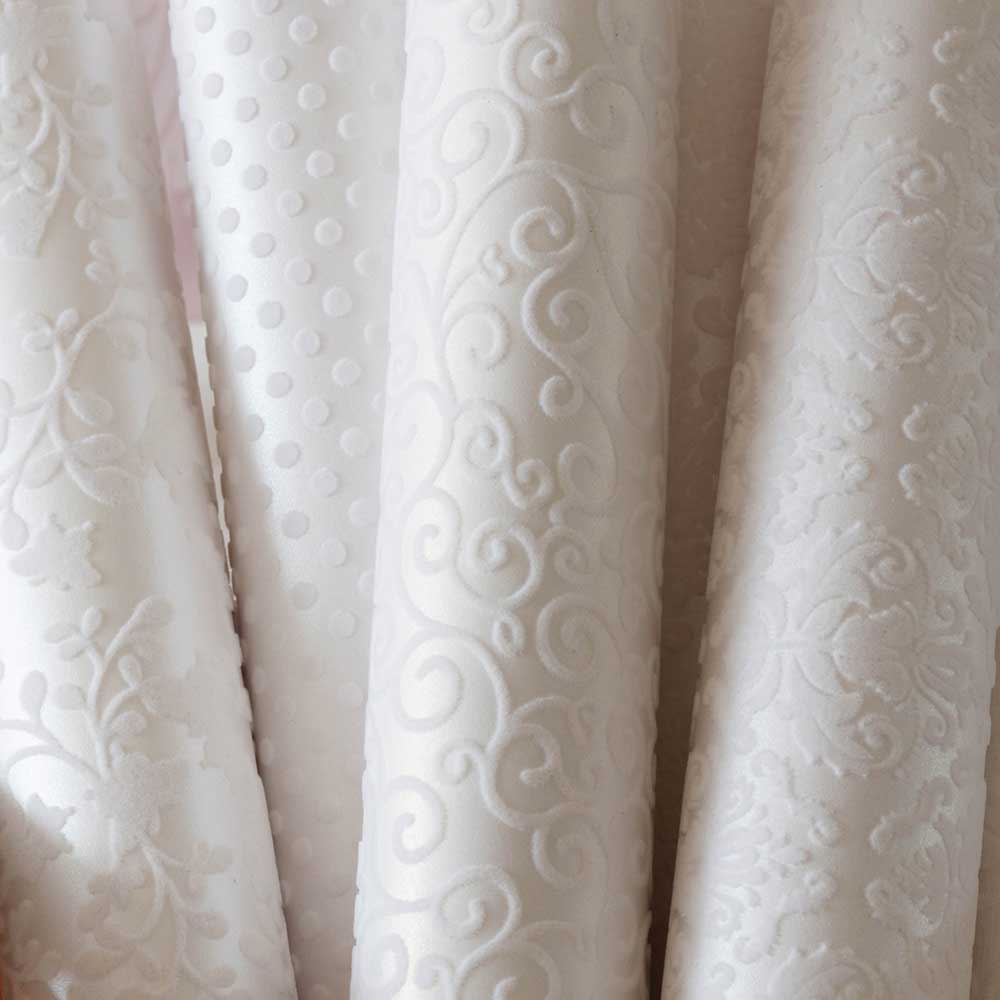
1/2 sheet of Renaissance Flock White Paper (click here)
1 sheet of Rose Gold Glitter Card (click here)
1 Coronet Pearl Self Adhesive Sticker) (click here)
You will also need:
High Tack Tape (click here)
A paper trimmer and scorer.
Black and White

You Will Need:
2 1/2 sheets of Pearlised Ivory A4 Card (click here)
1/2 sheet of Renaissance Flock Black Paper (click here)
1 sheet of Silver Glitter Card (click here)
1 Coronet Crystal Self Adhesive Sticker) (click here)
You will also need:
High Tack Tape (click here)
A paper trimmer and scorer.