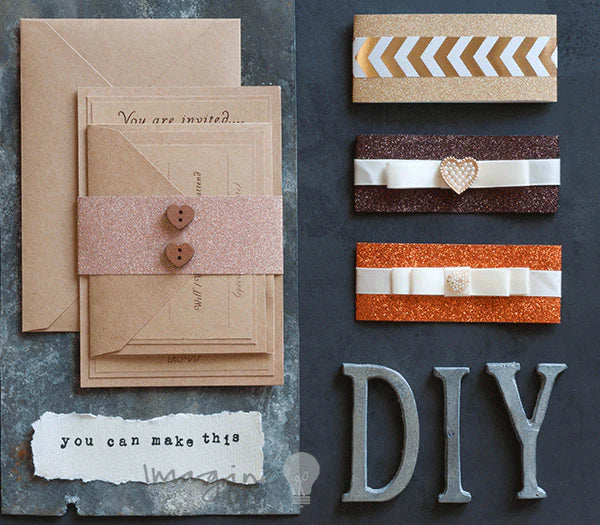
Make Wrap Invitations...
If you’ve read through our top tips, you’ll see that we LOVE wraps. They are a great way of making simple, low cost wedding invitations that also look really striking.

Here’s how we made this invitation and the matching wraps:
INVITATION:
Here’s what you’ll need:1/2 sheet of Kraft Card. (click here)
1/2 sheet of Kraft Paper. (click here)
OTHER THINGS YOU MIGHT NEED:
Paper Trimmer
Tape Runner or Double Sided Tape. (click here)
Instructions:
- Print your wording on to a sheet of Kraft Paper and cut down to size. The finished size should be 9cm wide x 13cm high. If you are careful in your layout, you should be able to fit 4 invitations per A4 sheet. Alternatively, if you have a printed that will print on to smaller format, cut your paper down to size and then print.
- Cut a piece of Kraft Card 10.5cm x 14.5cm
- Cut a piece of Kraft Card 9.5cm x 13.5cm. Stick on top of the larger card panel with tape runner or double sided tape.
- Stick the printed invitation panel on top of the layered card.
RSVP
Here’s what you’ll need:Here’s what you’ll need:
1/2 sheet of Kraft Card. (click here)
1/4 sheet of Kraft Paper. (click here)
OTHER THINGS YOU MIGHT NEED:
Paper Trimmer
Tape Runner or Double Sided Tape. (click here)
Instructions:
- Print your wording on to a sheet of Kraft Paper and cut down to size. The finished size should be 9.5cm wide x 7.5cm high. If you are careful in your layout, you should be able to fit 4 RSVP panels per A4 sheet. Alternatively, if you have a printed that will print on to smaller format, cut your paper down to size and then print.
- Cut a piece of Kraft Card 9cm x 11cm
- Cut a piece of Kraft Card 8cm x 10cm. Stick on top of the larger card panel with tape runner or double sided tape.
- Stick the printed RSVP panel on top of the layered card.
WRAP
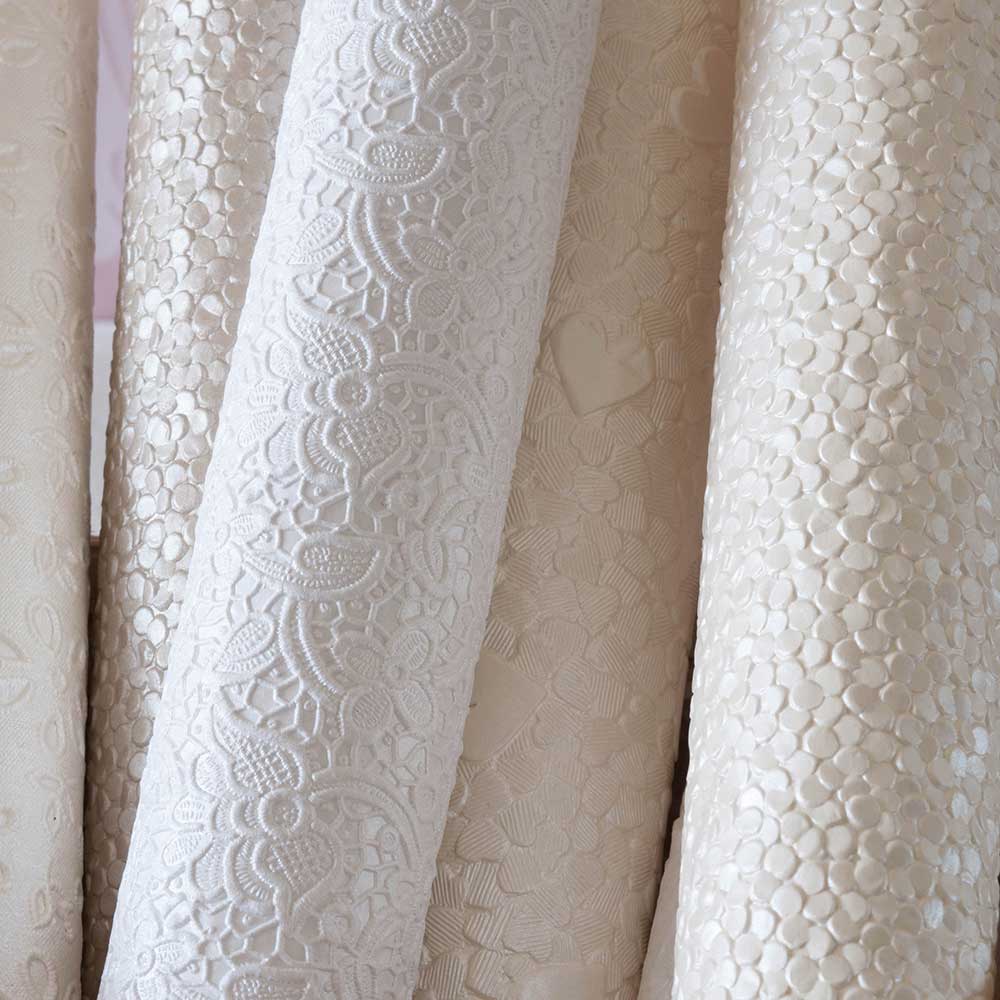
Here’s what you’ll need:1/4 sheet of your chosen paper
An embellishment of your choice
OTHER THINGS YOU MIGHT NEED:
Paper Trimmer
Tape Runner or Double Sided Tape (click here)
Glue Gun (click here)
Instructions:
- Cut a strip of your chosen Paper 5cm wide x 23cm long
- Place the glitter paper strip face down on a flat surface. Put your invitation face down on top of the wrap, making sure it is in the centre.
- Carefully wrap the strip of paper around the invitation until both ends meet at the back. Use your tape runner or double sided tape to stick the ends together (make sure that you do not stick it to the actual invitation). With glitter paper, you might need to add a tiny bit of glue from the glue gun to make it secure.
- Turn your invitation to the front and add your chosen embellishments
Note - As you are securing the wrap, make sure that you do not pull it too tightly. You want to be able to pull the invitation out of the wrap once it is secured.
ROSE GOLD WRAP WITH HEARTS
1/4 sheet of glitter paper in Rose Gold. (click here)2 x Dark wooden heart shaped buttons. (click here)
Note - Use the glue gun to stick your wooden hearts in to place one beneath the other at the centre of the wrap.
GOLD WRAP WITH CHEVRON STRIPE
1/4 sheet of Glitter Paper in Gold. (click here)
1/10 sheet of Chevron Luster in Gold. (click here)

CHAMPAGNE WRAP WITH CAMEO
1/4 sheet of sequin embossed paper in Champagne. (click here)
1 x Antique Cameo embellishment. (click here)
also 23cm of 3mm ivory satin ribbon. (click here)
Note - Glue one end of your 3mm ribbon to the front centre of the wrap using your glue gun. Take the ribbon around the wrap, back around to the front and secure the loose end in place at the front centre. Trim off any loose ends using a scissors.
Use the glue gun to stick the Antique Vintage Cameo embellishment to the front centre of the wrap, on top of the loose ends of ribbon
Try different combinations of paper, texture, colour and embellishment to create something truly unique.